Spider Mites on Houseplants: How to Spot and Get Rid of Them
Spider mites are tiny, fast-spreading, and easy to miss until the damage is done. Here is how to find them and clear an infestation.
Some links in this guide go to Amazon. As an Amazon Associate we earn from qualifying purchases, at no extra cost to you. How this works.
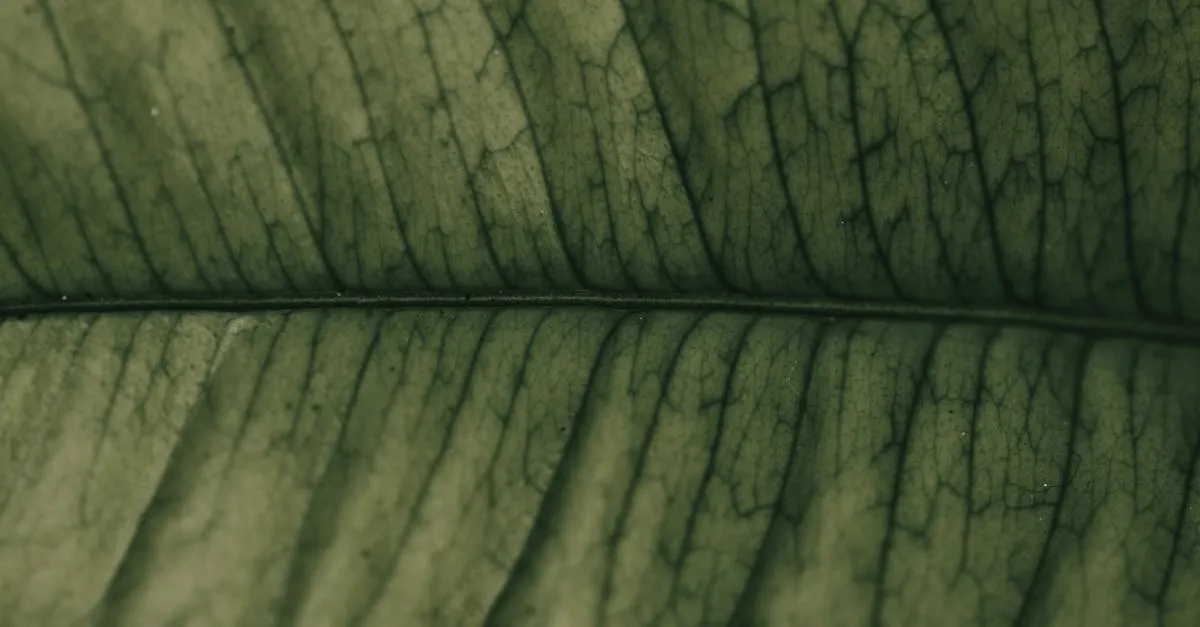
Spider mites are one of the most destructive houseplant pests, partly because they are so small that most people do not notice them until the plant is already struggling. Catching them early makes the difference between a quick fix and losing the plant. They are not insects but arachnids, more closely related to spiders, which is why insecticides aimed at bugs often miss them.
Quick answer
Look for fine stippling of pale dots, delicate webbing at the leaf joints, and a dull, dusty look on leaves that should be glossy; tap a leaf over white paper and if tiny specks fall and crawl, you have mites. They are arachnids, not insects, so sprays aimed at bugs often miss them. To clear them, isolate the plant, rinse it thoroughly including the undersides, then coat all surfaces with insecticidal soap or neem oil. Repeat every five to seven days for at least three rounds, because no spray reliably kills the eggs, and stop only once two consecutive checks show no live mites. Catching them early is the difference between a quick fix and losing the plant.
How to spot them
Spider mites are barely visible, often less than 1/50 inch (0.5 mm). Look for the signs rather than the mites themselves:
- Stippling: tiny pale or yellow dots across the leaves, where mites have pierced the surface and drained the cells
- Fine webbing: delicate strands between leaves and stems, most visible at the leaf joints
- A dull, dusty look to leaves that should be glossy
- Leaves yellowing, then drying and dropping
A reliable test: hold a sheet of white paper under a leaf and tap the leaf. If tiny specks fall and slowly crawl, you have mites. Spider mites are usually pale green, yellow, or reddish brown; the common two-spotted mite shows a dark patch on each side of its body when viewed with a magnifying glass.
Confirming it is mites, not something else
Stippling and yellowing have other causes, so rule them out before you commit to a treatment plan.
- Webbing settles it. Genuine pest webbing is fine and structural, strung between growing points. Stray household cobweb is coarser and not anchored to new growth. If you see webbing plus stippling, it is mites.
- Hard water spots look like pale flecks but sit on the surface and wipe off. Mite stippling is in the leaf tissue and does not.
- Thrips leave silvery streaks and tiny black specks of excrement rather than pinprick dots, and you can often see the slender insects themselves.
- Aphids and mealybugs are visible to the naked eye, so if you can see the pest clearly, it is not mites.
- Underwatering or sun scorch causes browning, but without the speckled pattern or webbing.
Why they spread fast
Spider mites thrive in warm, dry conditions, exactly what most heated or air-conditioned homes provide. A female can lay dozens of eggs, and in warm conditions an egg can reach breeding age in under a week, so a population can explode within two weeks. They also move easily from plant to plant on touching leaves, on your hands, and on air currents.
Assess the severity first
How you respond depends on how far the infestation has gone.
Light. Stippling on a few leaves, little or no webbing, the plant otherwise vigorous. This responds well to treatment, and you may catch it on a single plant.
Moderate. Stippling across many leaves, visible webbing at leaf joints, some yellowing and leaf drop. Treatable, but expect to commit to the full multi-round plan below.
Severe. Heavy webbing draped over whole sections, widespread defoliation, mites visibly massing at growing tips. Recovery is unlikely and the plant is now a reservoir reinfecting everything near it.
How to get rid of them
1. Isolate the plant immediately. Move it well away from every other plant so the mites cannot spread. Check the neighbors it was touching, as the infestation has probably already started there.
2. Rinse the plant. Take it to a sink or shower and spray the leaves thoroughly, especially the undersides, with room-temperature water. This physically removes a large share of the mites, eggs, and webbing, and it is the single most effective first step.
3. Treat with insecticidal soap or neem oil. Coat all surfaces, undersides included, until they are visibly wet. Insecticidal soap kills on contact and must reach the mite to work. Neem oil acts more slowly but also disrupts feeding and breeding. Treat in cooler conditions out of direct sun, as oil on a leaf in strong light can scorch it. Test on one leaf first if the plant has thin or fuzzy foliage.
4. Repeat every five to seven days, for at least three rounds. This is the step people skip. No contact treatment reliably kills the eggs, so a single application leaves the next generation to hatch and rebuild. Repeating on a five to seven day cycle catches each new wave before it can breed, which is why three or more rounds are needed to break the life cycle. Stop only once two consecutive checks show no live mites.
5. Consider predatory mites for larger collections. Beneficial mites such as Phytoseiulus persimilis hunt and eat spider mites, and are a genuine option for a heavily planted room or where chemical sprays have failed. They work best in moderate humidity and only while prey remains to feed on.
6. Wipe down the area where the plant sat, including the windowsill, saucer, and nearby shelf, in case mites or eggs were left behind.
Should you discard the soil?
Spider mites feed on foliage, not roots, so they do not live in the potting mix the way fungus gnats do. You do not need to discard the soil or repot a plant purely because of mites. Repotting adds stress at a time the plant can least afford it. Focus the effort on the leaves.
When to give up on a plant
If an infestation is severe, the plant is mostly webbed and defoliated, and several rounds of treatment have not turned it around, it is wiser to discard it than to risk it reinfecting your collection. A single heavily infested plant is not worth losing the rest. Bag the plant before carrying it through the house so mites do not drop off on the way out, and put it in the household waste rather than a compost heap near other plants.
Prevent them coming back
- Spider mites hate humidity, so raising humidity around your plants makes your home less hospitable to them. See the houseplant humidity guide for practical ways to do this.
- Inspect new plants before bringing them home, and keep them separate for two to three weeks before adding them to the collection.
- Check your plants regularly. A quick look at the leaf undersides once a week catches problems while they are still light and easy to clear.
- Keep leaves clean and dust-free, as dusty foliage both hides early stippling and suits mites.
Stay on the spray schedule until two checks come back clean
The mistake that costs people their plant is stopping after the leaves look better, because the eggs are still hatching and the population rebuilds within days. Keep to the five to seven day cycle until two consecutive inspections show no live mites, and stay especially watchful through the dry heat of winter and the run of summer air conditioning, when warm still air lets a few survivors turn back into an infestation.
Where to go next
Fungus Gnat Larvae: What They Look Like and How to Kill Them
Fungus gnat larvae live in the top few centimetres of soil and eat roots. Here is how to confirm you have them and the treatments that actually clear them.
Fungus Gnats vs Fruit Flies: How to Tell Which You Have
Fungus gnats come from your plant pots, fruit flies come from the kitchen. They need completely different treatments, so identify before you treat.
BTI for Fungus Gnats: How Mosquito Bits Actually Work
Sticky traps only catch adult fungus gnats. BTI, sold as Mosquito Bits, kills the larvae in the soil and actually ends the infestation. How to use it right.
Not sure what plant you have? Identify it from a photo and we will point you at its care guide.
Frequently asked questions
How do I check for spider mites if they are too small to see?
Hold a sheet of white paper under a leaf and tap the leaf. If tiny specks fall and slowly crawl, you have mites; they are often less than 1/50 inch (0.5 mm), so you are reading the signs rather than looking for the animal. Fine webbing strung between growing points alongside pinprick pale stippling settles it. Hard water spots sit on the surface and wipe off, thrips leave silvery streaks and tiny black specks of excrement rather than pinprick dots, and aphids and mealybugs are big enough to see plainly.
How long does it take to get rid of spider mites?
Plan on at least three rounds of treatment at five to seven day intervals, and stop only once two consecutive checks show no live mites. Stopping when the leaves start to look better is the mistake that costs people the plant, because the eggs are still hatching and the population rebuilds within days.
Why do spider mites keep coming back after I spray?
Because no contact treatment reliably kills the eggs. Insecticidal soap kills on contact and has to reach the mite to work, and neem oil acts more slowly by disrupting feeding and breeding, but neither clears eggs already laid. In warm rooms an egg can reach breeding age in under a week, so a single application leaves the next generation to hatch and rebuild. Repeating every five to seven days catches each new wave before it can breed.
Do I need to treat the plants next to an infested one?
Yes, check them straight away. Move the infested plant well away from every other plant first, then inspect the neighbors it was touching, because the infestation has probably already started there. Mites travel on touching leaves, on your hands and on air currents. Wipe down the windowsill, saucer and nearby shelf as well, in case mites or eggs were left behind. You do not need to discard the potting mix, because spider mites feed on foliage rather than roots.