How to Save an Overwatered Plant, Step by Step
Overwatering is the top killer of houseplants. If you catch it early, this step-by-step rescue gives the plant a real chance.
Some links in this guide go to Amazon. As an Amazon Associate we earn from qualifying purchases, at no extra cost to you. How this works.
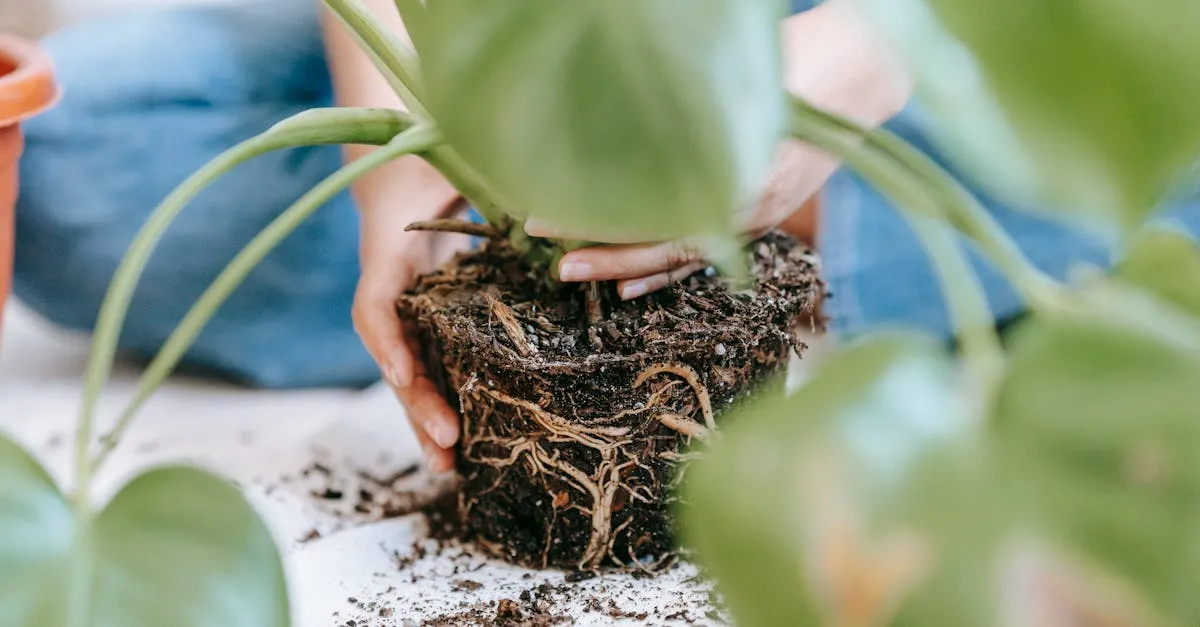
Overwatering kills more houseplants than any pest or disease. The damage is not really about water volume, it is about oxygen: waterlogged soil leaves no air for the roots, the roots suffocate and begin to rot, and a plant with rotting roots cannot drink even though it is sitting in moisture. That is why an overwatered plant often looks thirsty, with drooping, yellowing leaves, and why watering it again makes things worse.
Quick answer
If you catch overwatering early, before the roots have rotted, recovery can be as simple as stopping watering and letting the soil dry out. If the soil has stayed wet for days and the leaves are yellowing or the stem base feels soft, you need to act now: take the plant out of its pot, cut away any rotten roots, and repot into fresh, dry, well-draining mix in a pot with a drainage hole. The steps below run from the gentlest response to the full rescue.
Step 1: Confirm it is overwatering
Diagnose before you intervene, because the rescue itself is stressful and the wrong call makes a healthy plant worse. Look for several of these together:
- Soil that is still wet days after watering
- Multiple leaves yellowing at the same time
- Soft, mushy stem bases, or a soft patch at the soil line
- A sour or musty smell from the soil
- Leaves that are limp and drooping despite obviously wet soil
- Mold or a white crust on the soil surface
A single yellow leaf on a plant with dry soil is not overwatering, it is more likely normal shedding. If you are unsure which way the symptoms point, work through our yellow leaves diagnosis guide first. Do not run this rescue on a plant that does not need it.
Step 2: Decide how far to go
Not every overwatered plant needs to be unpotted.
Caught very early, with soil only recently soggy and no soft stems or smell, you can often skip straight to drying out. Stop watering, move the plant somewhere bright and airy, and let the soil dry through. If it recovers within a couple of weeks, no surgery is needed.
Soil staying wet for days, leaves yellowing, any softness or smell, means the roots are likely rotting and you should do the full repot in the steps below. When in doubt, inspecting the roots tells you for certain and does little harm if you are gentle.
Step 3: Stop watering immediately
Obvious, but it has to be said. Do not water again until you have completed the relevant steps and the soil has genuinely dried out. Move the plant out of direct sun into bright indirect light while you work, since a stressed plant cannot cope with the extra heat load.
Step 4: Remove the plant and inspect the roots
Slide the plant out of its pot and gently clear soil from the roots so you can see them. Rinsing under a slow tap helps.
- Healthy roots are firm and pale, white or light tan, and spring back.
- Rotten roots are brown or black, soft, slimy, and may fall apart or slip their outer sheath when pulled. A foul smell confirms it.
If every root is mush, the plant likely cannot be saved from the roots, though a healthy stem cutting may still let you start again. If some firm roots remain, continue.
Step 5: Trim the rotten roots
With clean, sharp scissors or secateurs, cut away every soft, discolored root back to firm, pale, healthy tissue. Removing dead roots is not optional, because rot left behind keeps spreading into healthy tissue. If you end up removing a large share of the root system, remove a few of the oldest or most damaged leaves too, so the reduced roots are not trying to support the whole plant. Wiping your blades between cuts reduces the chance of spreading the rot.
Step 6: Repot into fresh, dry soil
Never reuse the old wet soil, as it is compacted, low on oxygen, and carries the organisms feeding on the rot. Repot into fresh, well-draining mix in a clean pot that has a drainage hole and is sized to the trimmed roots, not the original plant. An oversized pot holds a large volume of slow-drying soil, which is exactly what caused the problem. Adding perlite or bark to the mix improves airflow around the new roots.
Step 7: Wait before watering
After repotting, wait. Give the trimmed roots several days to about a week to callous over before the first light watering, then keep the mix on the dry side while new roots form. Keep the plant in bright indirect light, away from direct sun and from cold drafts. Hold off fertilizer entirely until you see fresh growth, because feeding stressed, damaged roots only adds salt strain.
Step 8: Prevent the next time
- Always use a pot with a drainage hole, and never let the pot sit in a saucer of standing water.
- Check the top 1 to 2 inches (3 to 5 cm) of soil before every watering instead of following a fixed calendar.
- Match the pot size to the plant, and avoid jumping up several sizes at once.
- Use a mix that drains freely rather than a dense, water-holding one.
- In autumn and winter, water much less, because plants drink slowly when growth slows and light is weak.
When to worry and when it is normal
A plant that droops briefly after a thorough watering and recovers within a day is fine. Worry when leaves yellow in numbers, when the soil refuses to dry, when stems turn soft, or when the soil smells sour, as those mean the roots are in trouble. The earlier you catch it, the gentler the fix.
Judge recovery by new roots, not old leaves
The hardest part of the rescue is waiting through it: a freshly repotted plant can sit limp for two or three weeks while it grows the new roots that let it drink again, and reaching for the watering can during that lull is what undoes most rescues. Treat firm new growth, not the state of the older leaves, as your signal that the plant has turned the corner, and keep the mix on the dry side until you actually see it.
Where to go next
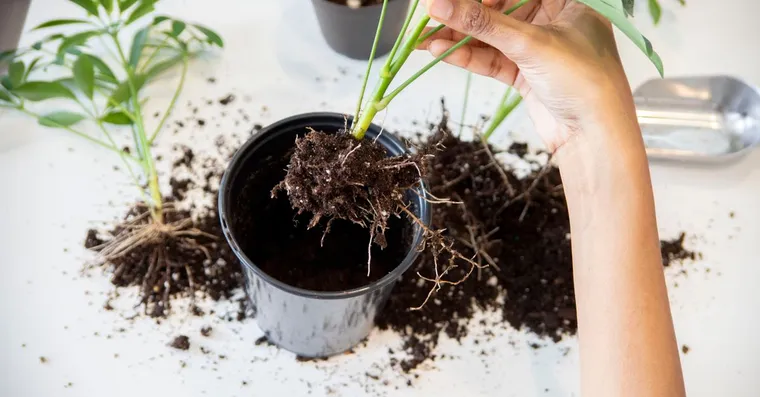
What Does Root Rot Look Like? Signs at Every Stage
Root rot is diagnosed at the roots, not the leaves. Here is what healthy and rotting roots look like, and which above-ground signs point to it.
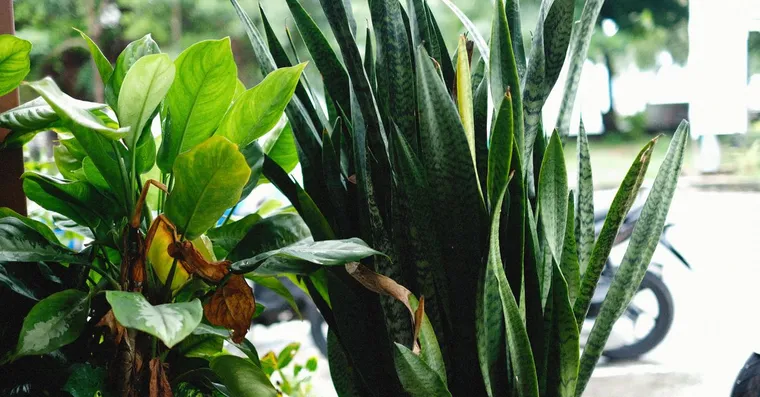
Why Is My Snake Plant Drooping or Falling Over?
Snake plant leaves that flop, splay, or fall over usually trace back to overwatering and root rot, with low light and stress adding to it.
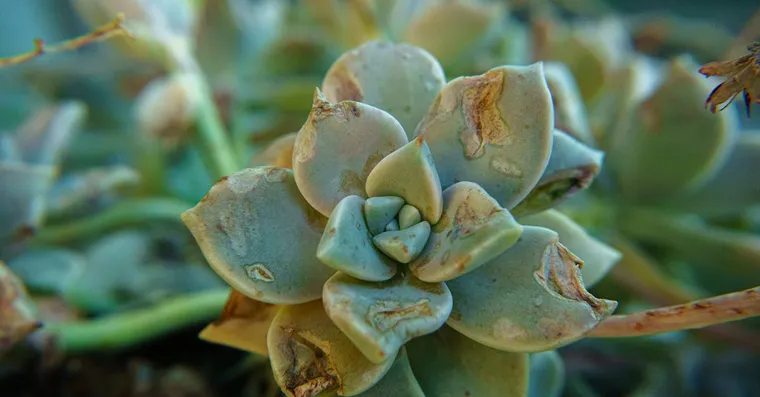
Why Is My Succulent Soft and Mushy?
How to diagnose a soft, mushy, or translucent succulent, tell overwatering from rot, and decide whether the plant can still be saved.
Not sure what plant you have? Identify it from a photo and we will point you at its care guide.
Frequently asked questions
How do I tell an overwatered plant from an underwatered one?
Check the soil first, because an overwatered plant often looks thirsty: rotting roots cannot drink, so the leaves droop and yellow while the pot is still wet. Look for several signs together, rather than one on its own. Soil still wet days after watering, multiple leaves yellowing at the same time, a soft or mushy stem base, a sour or musty smell from the soil, and mold or a white crust on the surface all point one way. A single yellow leaf on a plant with dry soil is not overwatering, it is more likely normal shedding.
Does an overwatered plant always need repotting?
No. Caught very early, with soil only recently soggy and no soft stems or smell, you can often stop watering, move the plant somewhere bright and airy, and let the soil dry through; if it recovers within a couple of weeks no surgery is needed. Go to the full repot when the soil has stayed wet for days and the leaves are yellowing, or there is any softness or smell, because the roots are likely rotting. When you are unsure, slipping the plant out to inspect the roots tells you for certain and does little harm if you are gentle.
How long does an overwatered plant take to recover?
A freshly repotted plant can sit limp for two or three weeks while it grows the new roots that let it drink again, and reaching for the watering can during that lull is what undoes most rescues. Judge recovery by firm new growth rather than the state of the older leaves. Keep the mix on the dry side until you actually see that growth, hold off fertilizer entirely until it appears, and keep the plant in bright indirect light away from direct sun and cold drafts.
When should I water again after repotting an overwatered plant?
Give the trimmed roots several days to about a week to callous over before the first light watering, then keep the mix on the dry side while new roots form. Never reuse the old wet soil, because it is compacted, low on oxygen and carries the organisms feeding on the rot. Match the new pot to the trimmed roots rather than to the original plant, since an oversized pot holds a large volume of slow-drying soil, which is exactly what caused the problem.