How to Repot a Houseplant Without Killing It
Repotting stresses a plant, but done right it sets up years of healthy growth. Go up one pot size only and repot in spring for the safest result.
Some links in this guide go to Amazon. As an Amazon Associate we earn from qualifying purchases, at no extra cost to you. How this works.
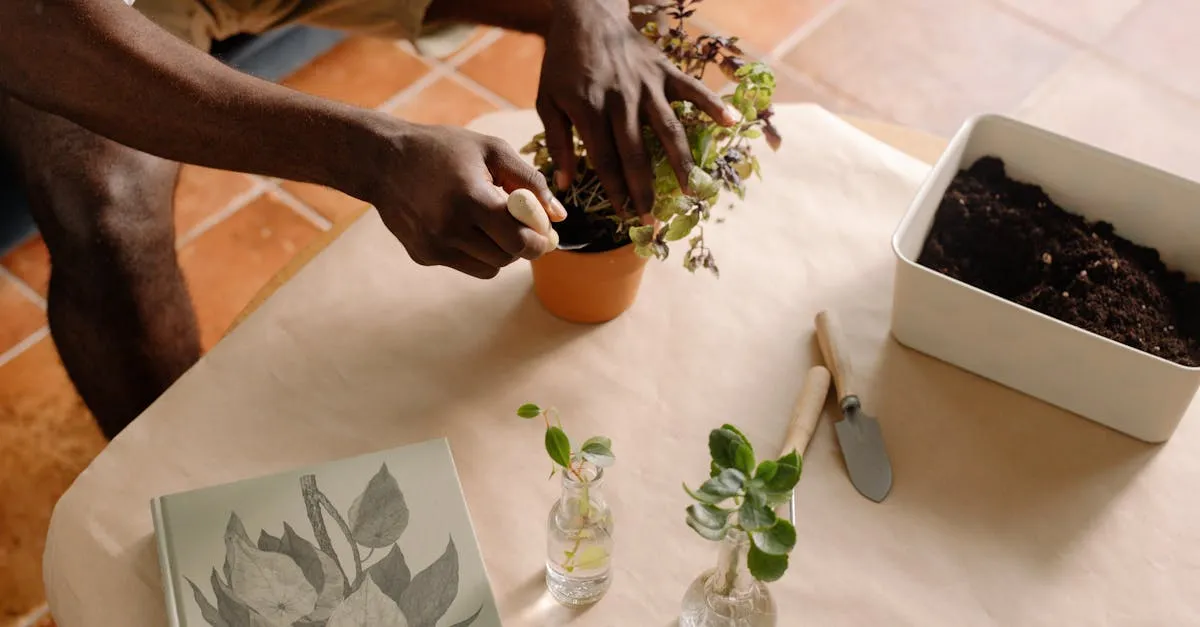
Repotting sounds risky but is straightforward once you know the rules. Most failures come from doing it at the wrong time, jumping up too many pot sizes, or burying the plant too deep, and none of those is hard to avoid.
When to repot, and when not to
Repot when the plant has outgrown its container, not on a schedule. The signs:
- Roots circling the bottom or growing out of the drainage holes
- A solid mat of root visible when you slide the plant out, with little soil left
- Water running straight through without soaking in
- The plant drying out far faster than it used to
- Growth that has clearly stalled despite good light and feeding
Equally, know when to leave it alone. A plant that was recently repotted, one that is flowering, and one that is visibly stressed or recovering should all stay put. Some plants, including many succulents and certain hoyas, prefer to be slightly pot-bound and bloom better for it.
The best time is spring or early summer, when the plant is actively growing and recovers quickly. Repotted in winter, when growth has slowed, it sits in fresh damp soil it cannot use, which raises the risk of root rot.
Just bought it? Don’t repot straight away
The common advice to repot a new plant immediately is usually wrong. A fresh buy is already adjusting to new light, temperature, and humidity, and stacking root disturbance on top is how a healthy plant drops leaves in week two. Give it two to three weeks to settle first.
Two exceptions justify going in early: if it sits in soggy sphagnum or a peat plug that stays wet for days, free the roots; and if it is so rootbound that water runs straight through, waiting makes the job harder.
When you open a new plant up, check the base of the root ball for a buried “death plug”. Lucy Liu, at her London nursery, finds these most often in plants from big commercial suppliers: the root core is still encased in a small non-biodegradable mesh sleeve, or a dense plug of floral foam or rockwool from the seedling stage. The roots grow out of it at first, so nothing looks wrong, but as the plant fills out that ring acts like a tourniquet around the main root crown and slowly chokes it. Gently tease off any mesh sleeve or foam plug you find. This is worth doing on day one rather than waiting.
Choose the right pot
Size. Go up one size only, roughly 3/4 to 2 inches (2 to 5 cm) wider in diameter; in practice a plant in a 4 1/2 inches (12 cm) pot moves to a 6 inches (15 cm) one, not a 8 inches (20 cm) one. A pot that is too large holds a big volume of slow-drying soil, a leading cause of root rot. The roots should fill the new space within a season, not swim in it.
Drainage. The pot must have a drainage hole; this is not negotiable. For decorative pots without one, keep the plant in a plain plastic nursery pot inside, and see the cover-pot section below.
Material. Terracotta is porous, so it dries faster and forgives overwatering, which suits succulents and heavy-handed waterers. Plastic and glazed ceramic hold moisture longer, suiting thirstier plants and dry rooms. Match it to the plant and your watering habits.
What you will need
Have everything ready before you start, so the roots are exposed as briefly as possible:
- The new pot, clean and dry
- Fresh potting mix suited to the plant; see choosing a potting mix
- A clean knife or secateurs for trimming circled roots
- Newspaper or a sheet to work on, and water for the final soak
Skip the layer of gravel or crocks at the bottom. It does not improve drainage and only steals soil from the roots.
Step by step
- Water the plant a day before. A hydrated root ball holds together and slides out more easily, and a turgid plant copes better with the disturbance.
- Remove the plant gently. Tip the pot, support the base of the stem, and ease it out. If it is stuck, run a knife around the inside edge. Never pull by the stem.
- Inspect the roots. Healthy roots are firm and pale. Cut away any that are brown, soft, or mushy with a clean blade.
- Loosen the roots. Tease apart the outer roots with your fingers. If they are tightly circled, make a few shallow vertical cuts down the sides of the root ball to push growth outward.
- Add fresh soil to the new pot. Put enough at the bottom so the plant sits at the same depth as before, with the top of the root ball half an inch (1 cm) or two below the rim.
- Position and fill. Center the plant, fill around the sides with fresh mix, and firm it gently to remove large gaps. Do not bury the stem deeper than it was.
- Water thoroughly. Water until it drains out the bottom; this settles the soil and removes air pockets. Top up with a little more mix if the level drops.
If you find rot or pests when you open it up
If you tip the plant out and find brown, mushy roots or a pest infestation, work to two rules. Never remove more than about a third of the root mass in one session, even if more looks dead; cutting deeper leaves the plant unable to support its leaves. If heavy loss forces you past that line, pot down into a smaller container that matches the surviving roots, and trim the canopy so they are not asked to feed a full head of leaves.
For pests, hygiene decides the outcome. Throw out every scrap of the old soil, wash the pot, and wipe your blade with isopropyl between cuts on an infested ball so you do not seed the clean roots with what you cut out.
Pots with no drainage hole, self-watering pots, and cover pots
The cleanest fix for a pot with no hole is to not plant directly into it: keep the plant in a plain nursery pot and drop that inside the decorative one as a cover pot, lifting it out to water and drain. If you must plant into the sealed pot itself, water by a fraction of the pot’s volume and never let the base sit wet; drilling a hole with a diamond-tipped bit is more reliable.
Self-watering pots are a different thing, not a fault. A reservoir sits below a wicking layer, so the roots draw water up as needed rather than sitting in it. Fill the reservoir, not the soil, and let it run dry between top-ups.
Repotting a big plant you can’t lift
A mature floor plant does not need a full repot as often as the advice implies. For anything too heavy to handle, top-dress instead: scrape off the top 1 to 2 inches (3 to 5 cm) of spent soil each spring and replace it with fresh mix, doing a full repot only every two to three years, or when truly rootbound.
When a full repot is unavoidable, lay the plant on its side on a tarp, slide rather than lift it out, and get a second pair of hands: one steadies the root ball while the other works the pots.
After repotting
Place the plant in bright indirect light, not direct sun, which on settling roots adds stress it does not need. Expect some transplant shock for up to two weeks: a little drooping or a paused appearance is normal, not a sign you did anything wrong.
Do not fertilize immediately. Fresh potting mix already contains nutrients, and the roots need time to settle before they take up more. Wait four to six weeks, then resume feeding; see how to fertilize houseplants for timing.
Water on the dry side at first. The disturbed roots are not yet drawing much moisture, so the mix stays wet longer. New growth signals that the repotting succeeded.
Quick reference: sizing and timing by plant type
Not every plant follows the one-size-up, fresh-potting-mix rule:
| Plant group | What to do differently |
|---|---|
| Orchids (phalaenopsis and similar) | Use bark, not potting mix; repot into fresh bark every 1 to 2 years as it breaks down, not for size |
| Pot-bound bloomers (succulents, hoyas, snake plant, peace lily) | Leave slightly cramped; they flower or stay sturdier when snug, so repot only when truly outgrown |
| Fast growers (pothos, most aroids) | Size up roughly once a year while young; they fill a pot quickly |
Common mistakes
- Using garden soil. It is too dense for containers, drains poorly, and can carry pests. Use a proper potting mix.
- Repotting a sick plant to fix it. Diagnose the real problem first. Repotting is not a cure for overwatering or pests, and the added stress can finish off a plant that is already struggling.
Repot on the plant’s schedule, not yours
The mistake that quietly undoes careful work is sizing up too far to save yourself a job next year, so leave the tempting 8 inches (20 cm) pot on the shelf and let the roots earn the next size. If you are reading this in autumn or winter, note the date and wait for spring, when a settling plant recovers in days rather than weeks. Get the timing and the one-size rule right and a repot buys years of steady growth instead of two weeks of nervous watching.
Where to go next
Choosing the Right Pot: Size, Material, and Drainage
How to choose the right pot for a houseplant, covering pot size, terracotta versus plastic versus ceramic, and why the drainage hole matters most.
How to Choose the Right Potting Mix for Houseplants
A guide to houseplant potting mixes, explaining what good soil contains and how to match or amend it for different types of plants.
Fungus Gnat Larvae: What They Look Like and How to Kill Them
Fungus gnat larvae live in the top few centimetres of soil and eat roots. Here is how to confirm you have them and the treatments that actually clear them.
Not sure what plant you have? Identify it from a photo and we will point you at its care guide.