Root Rot: How to Identify, Treat, and Prevent It
Root rot is the most common way houseplants die. Trim every brown, mushy root back to firm pale tissue, repot into fresh mix, and wait before watering.
Some links in this guide go to Amazon. As an Amazon Associate we earn from qualifying purchases, at no extra cost to you. How this works.
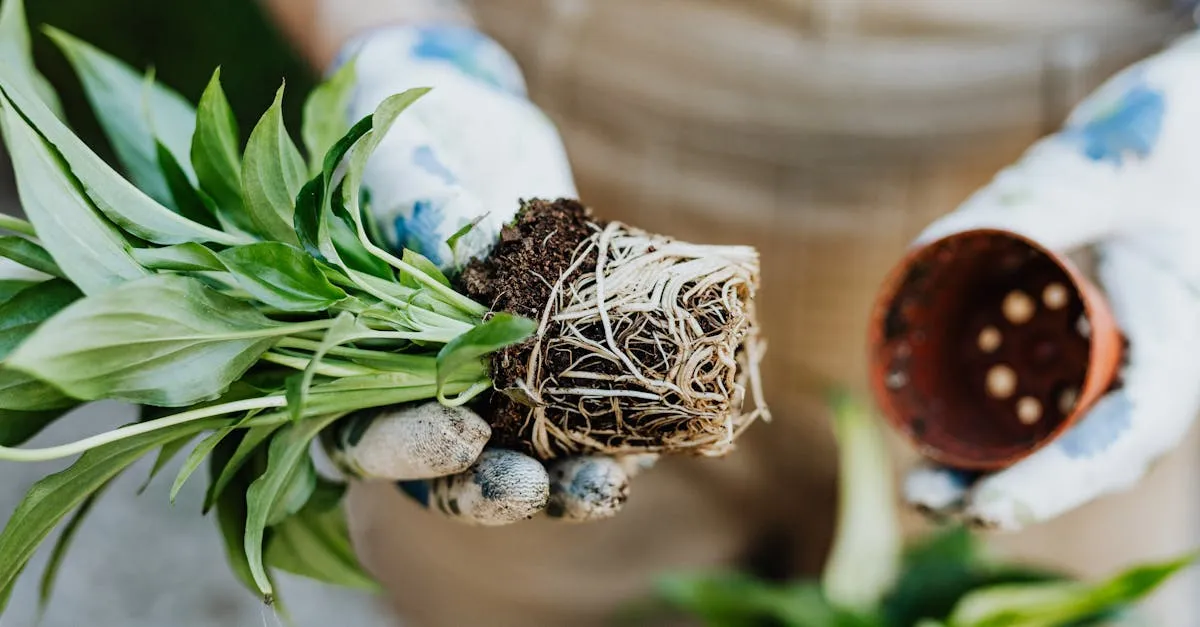
Root rot is the single most common way houseplants die indoors, and it is almost always a watering problem rather than a disease problem. Healthy roots need air as much as they need moisture; when soil stays saturated, the roots suffocate, die, and then decay. The good news is that root rot caught early is treatable, and once you understand the cause it is easy to prevent for good.
Quick answer
Root rot is the most common way houseplants die indoors, and it is a watering problem, not a disease: soil that stays wet suffocates the roots until they decay. It mimics thirst, so the tell is a plant that wilts or yellows while the soil is still moist. To treat it, slide the plant out, trim every brown, mushy root back to firm pale tissue with clean snips, and repot into fresh, fast-draining mix in a pot with a drainage hole. Then wait before watering again, and water only once the top inch or two (3 to 5 cm) are dry. Caught early it is treatable, and better drainage keeps it from coming back.
What root rot actually is
Root rot is the decay of a plant’s roots, usually triggered by waterlogged soil. When a pot stays wet, the air pockets between soil particles fill with water and the roots can no longer take in oxygen. Starved of air, the finer roots die first, and opportunistic fungi and bacteria move in to break down the dead tissue. That decay then spreads to roots that were still healthy.
Two conditions cause this, and they usually work together.
Overwatering. Watering too often, or before the soil has had a chance to dry, keeps the root zone permanently soaked. This is the most common trigger by far.
Poor drainage. A pot with no drainage hole, a saucer left full of water, or a dense, water-retaining soil mix will keep roots wet even if you water sensibly. A heavy mix in an oversized pot holds water the small root system cannot use.
Symptoms you can see above the soil
You usually notice root rot from the leaves, because the roots are hidden. The frustrating part is that the symptoms mimic underwatering.
Yellowing leaves, often starting with the lower or inner leaves, are the most common early sign. See our diagnosis guide to yellow leaves to rule out other causes.
Wilting or drooping despite soil that is clearly still moist. A plant that flops in wet soil has lost the roots it needs to drink.
Soft, mushy stems at the base, and a sour or musty smell from the soil. Brown, soggy patches at the soil line are a late warning.
Stalled growth and leaves that drop without warning. By this stage the damage below ground is significant.
How to inspect the roots
Symptoms above ground are only clues. To confirm root rot, you have to look.
Slide the plant out of its pot and gently knock or rinse the soil away from the roots. Healthy roots are firm and pale, usually white or light tan. Rotten roots are the opposite: brown or black, soft, slimy, and they often fall apart or slip their outer layer when you pull them. A foul smell confirms it.
Treat, propagate, or compost: deciding before you start
Once the roots are exposed, count how much firm, pale tissue is left. That ratio sets your move.
Treat when more than about half the root ball is still firm and white. The plant can rebuild from what remains, so trim and repot.
Propagate when more than half is brown and mushy but the top growth still has a firm stem or a healthy node. You will lose the parent root system, so skip to taking a cutting rather than nursing a stump that cannot drink.
Compost when the rot has reached the stem or crown, the base is soft all the way through, and there is no firm node to cut from. Nothing roots from dead tissue, and keeping it risks spreading fungus gnats and fungus to neighbors.
Treating an affected plant
Work quickly once the plant is out of its pot, and use clean tools.
- Trim every rotten root. Use sterilized scissors or secateurs and cut back to firm, pale tissue. Remove all of it, even if that means losing most of the root ball. Decay left behind will keep spreading.
- Remove affected leaves. Cut away yellowed, mushy, or clearly dying foliage so the reduced root system has less to support.
- Rinse and dry. Rinse the remaining roots clean. Some growers let them air-dry for an hour before repotting.
- Repot into fresh, dry mix. Never reuse the old soil; it carries the pathogens. Use a fresh, well-draining mix in a clean pot with a drainage hole, sized to the trimmed roots rather than the original plant.
- Wait to water. Water lightly, then keep the mix on the dry side while new roots form. Skip fertilizer until you see fresh growth, which signals recovery.
For a full walkthrough of nursing a saturated plant back to health, follow our step-by-step overwatered plant rescue guide. If you need a refresher on the repotting itself, see how to repot a houseplant without killing it.
Does hydrogen peroxide cure root rot?
It is the fix repeated everywhere, and Lucy Liu, asked about it several times a week at her London nursery, gives the honest verdict: it helps a little and cures nothing. A 3% solution diluted roughly one part to three or four parts water briefly adds oxygen to the root zone and kills surface bacteria and fungus on contact. That is the whole of its usefulness, and it has a cost: the same fizz also kills the beneficial microbes around healthy roots.
It cannot regrow dead roots or reach decay locked inside the root ball, and it breaks down within minutes, so there is no lasting protection. A too-strong mix burns the fine living roots you are trying to save. Use it the way Lucy does, if at all: only after cutting every mushy root back to firm white tissue, as a final disinfectant rinse before fresh soil, never as a substitute for the cutting itself.
How rot behaves in common plants
The cut-and-repot rule holds, but a few plants need a different judgement at the bench. Succulents and cacti often rot from the crown or stem down rather than from the roots up, so a soft, discolored base means the plant is usually lost even if lower roots look fine, and you save firm offsets instead. Orchids should go back into bark or sphagnum, not potting soil, after their black mushy roots are cut to firm green or white tissue. A ZZ plant stores water in underground rhizomes that often survive even when every surface root has gone, so a firm rhizome is worth potting up dry and waiting on. Pothos and other thin-rooted aroids tolerate aggressive cuts well and regrow quickly, so do not be timid trimming them back hard.
Starting again from a cutting
When the roots are too far gone to treat, a cutting is the salvage path, and most trailing and upright aroids take to it easily.
Choose a firm, healthy length of stem from above the rot, with at least one node, the small bump where a leaf or aerial root joins the stem. Cut just below that node with a sterilized blade and strip the lowest leaf. Root it in plain water, changing it every few days so it stays clear, or push it straight into damp, free-draining mix. New roots usually appear in two to four weeks in water; pot the cutting on once they reach 3/4 to 1 inch (2 to 3 cm). For the full method across plant types, see our propagation guide.
How long recovery takes, and when to stop
A treated plant looks worse before it looks better, so judge progress by new growth, not by the old leaves. For the first one to two weeks it sulks and may drop a few more leaves as it sheds what the reduced roots cannot support; this is normal, not a relapse. Around weeks three to six, firm white root tips rebuild below the surface and the plant stabilizes. The first genuinely new leaf, your reliable all-clear, usually arrives within four to eight weeks.
The stop rule matters just as much. If after about six weeks the stem base is going soft, no firm white roots have formed, and there is no new growth, the rescue has failed. Throw out the plant rather than recycling the mix, and start fresh from any cutting you saved.
Preventing it from coming back
Prevention is simpler than treatment, and it comes down to managing water and drainage.
Water by the soil, not the calendar. Check the top inch or two (3 to 5 cm) with a finger and water only when the plant needs it. Most houseplants prefer to dry out partly between waterings.
Use pots with drainage holes and empty the saucer after watering. Never let a pot stand in water.
Match the mix to the plant and avoid oversized pots, which hold more wet soil than small roots can use.
Keeping a recovered plant out of trouble
The most common way a rescued plant ends up back on the bench is the owner returning to the exact watering routine that drowned it the first time, so let the soil decide when to water rather than the calendar. Roots drink far less in the cooler, darker months, which means a schedule that suited the plant in July will leave it soggy by December. If you change only one habit, lift the pot before every watering: a heavy pot is still wet and can wait, while a light one is ready.
Where to go next
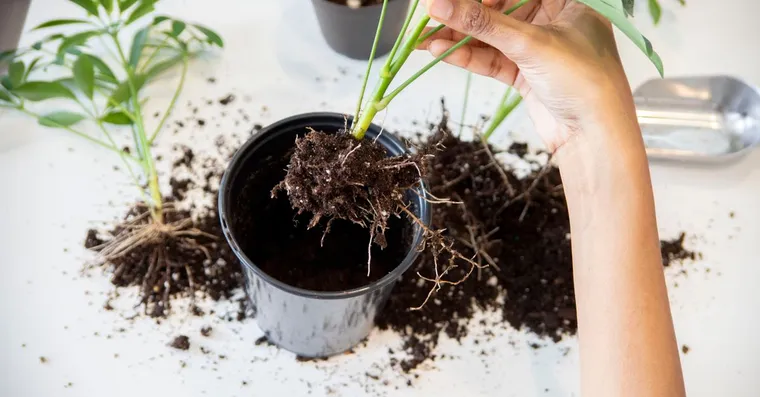
What Does Root Rot Look Like? Signs at Every Stage
Root rot is diagnosed at the roots, not the leaves. Here is what healthy and rotting roots look like, and which above-ground signs point to it.
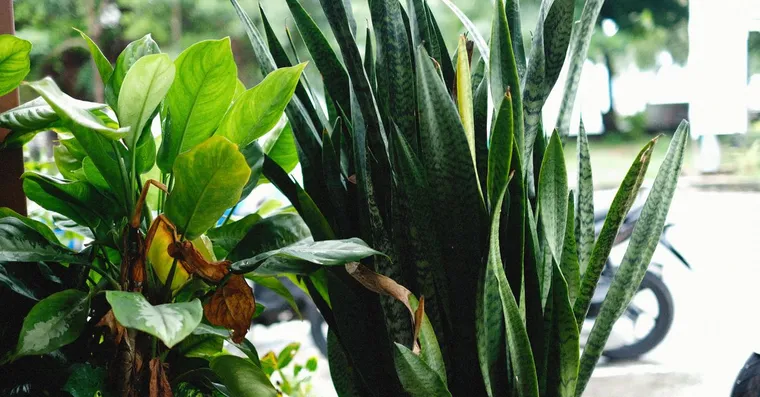
Why Is My Snake Plant Drooping or Falling Over?
Snake plant leaves that flop, splay, or fall over usually trace back to overwatering and root rot, with low light and stress adding to it.
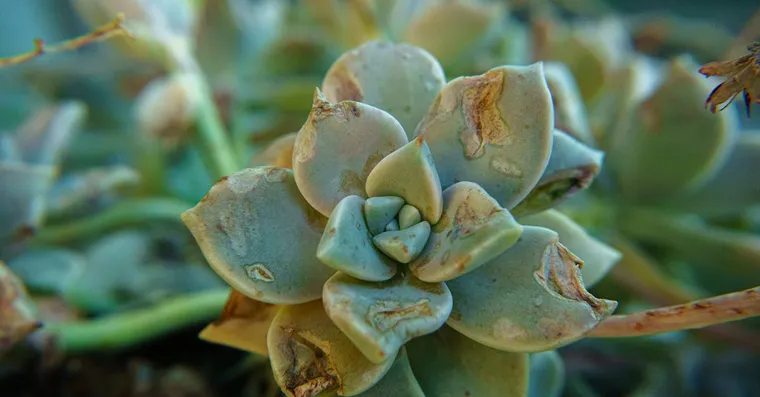
Why Is My Succulent Soft and Mushy?
How to diagnose a soft, mushy, or translucent succulent, tell overwatering from rot, and decide whether the plant can still be saved.
Not sure what plant you have? Identify it from a photo and we will point you at its care guide.
Frequently asked questions
How do I know if my plant has root rot?
The tell is a plant that wilts or yellows while the soil is still moist, because the symptoms mimic underwatering. Yellowing usually starts with the lower or inner leaves. Soft, mushy stems at the base and a sour or musty smell from the soil come later. Symptoms above ground are only clues, so slide the plant out and look. Healthy roots are firm and pale, while rotten ones are brown or black, soft and slimy.
Does hydrogen peroxide cure root rot?
It helps a little and cures nothing, which is the verdict Lucy Liu gives at her London nursery, where she is asked several times a week. A 3% solution diluted one part to three or four parts water briefly adds oxygen and kills surface bacteria on contact. That is the whole of its usefulness. It also kills the beneficial microbes around healthy roots, breaks down within minutes, and cannot regrow dead roots or reach decay locked inside the root ball. Use it only as a final rinse after cutting, never instead of cutting.
Can a plant recover from root rot?
Often, and the deciding factor is how much firm root is left, so count before you start. Treat when more than about half the root ball is still firm and white, because the plant can rebuild from what remains. Propagate when more than half is brown and mushy but the top growth still has a firm stem or a healthy node. Compost when the rot has reached the stem or crown and there is no firm node to cut from, because nothing roots from dead tissue.
How long does a plant take to recover from root rot?
Judge by new growth, not by the old leaves. For the first one to two weeks the plant sulks and may drop more leaves as it sheds what the reduced roots cannot support, which is normal rather than a relapse. Around weeks three to six, firm white root tips rebuild below the surface. The first genuinely new leaf is the reliable all-clear and usually arrives within four to eight weeks. If after about six weeks the stem base is going soft and no white roots have formed, the rescue has failed.