How to Propagate Houseplants from Cuttings
Turning one plant into several is easier than it looks. Here is how to choose the right method for yours, from stem cuttings to division and water rooting.
Some links in this guide go to Amazon. As an Amazon Associate we earn from qualifying purchases, at no extra cost to you. How this works.
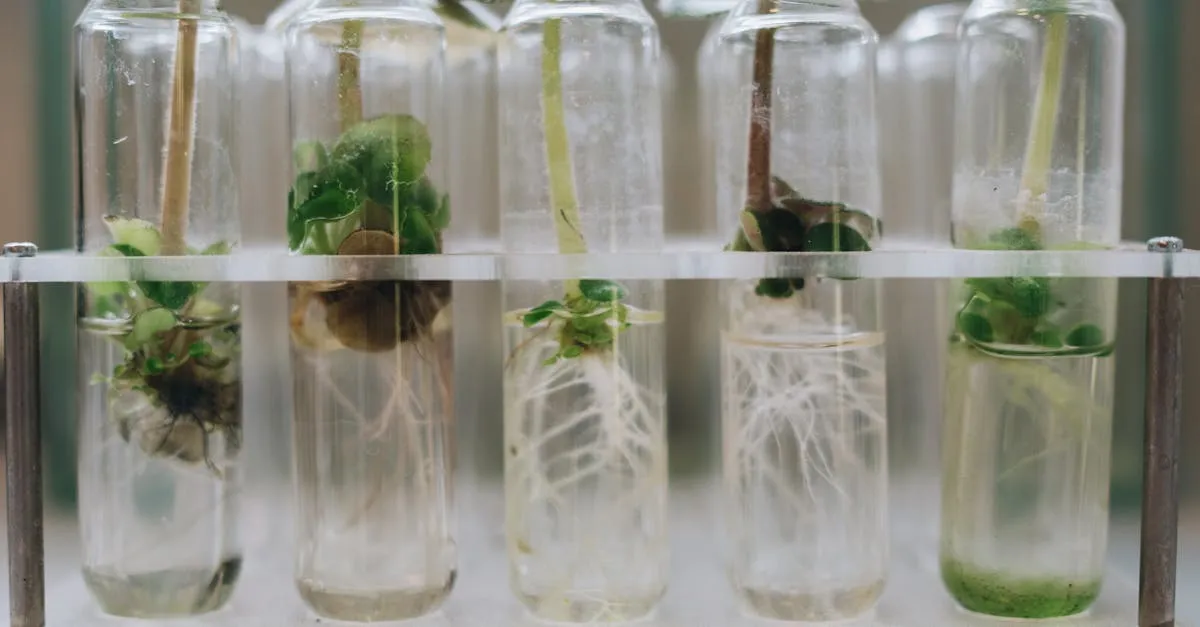
Propagating houseplants is one of the easiest ways to get more plants for free, and most common trailing and vining plants root readily. The catch is that “take a cutting” only works for some plants. The first job is matching your plant to the right method, because cutting a snake plant or a peace lily the way you would a pothos either wastes time or loses the variegation.
Pick the right method for your plant
There are four ways to multiply a houseplant. Match yours to one before you pick up the scissors.
- Stem cuttings suit anything that vines or has a clear stem with nodes: pothos (how to propagate pothos), philodendron, monstera (how to propagate monstera), hoya (how to propagate hoya), tradescantia, and string of hearts.
- Division suits clumping plants that grow in separate crowns: snake plant (how to propagate snake plant), ZZ, peace lily, calathea, ferns, and spider-plant clumps. You separate rooted crowns by hand, so a division is instant.
- Offsets are the babies a plant makes for you: spider plant pups, Pilea babies, aloe pups, bromeliad pups, and succulent rosettes. Wait until each offset is a third of the parent’s size before detaching it.
- Air layering suits leggy woody plants you do not want to risk on a bare cutting: fiddle leaf fig, rubber plant, and overgrown monstera.
One genuinely surprising trap is the variegated snake plant that comes back plain green. Lucy Liu, at her London nursery, sees this one most often: someone roots a leaf cutting from a yellow-edged variegated leaf and is baffled when the new pup grows solid green. The variegation sits only in the outer layer of leaf tissue, and a leaf cutting regrows from the inner green cells, so it reverts. To keep the variegation you have to divide at the roots, not take a leaf cutting. On speed, stem cuttings root in days to a few weeks, division gives you finished plants the same day, offsets need to size up first, and slow growers like ZZ and snake-plant leaf cuttings can take months, so a quiet cutting is usually still working, not dead.
Find the node first
The node is the single most important part of any cutting. It is the slightly swollen point on a stem where a leaf, a side shoot, or an aerial root emerges. Roots grow from nodes, not from leaves or bare stem, so a cutting without a node will rarely root no matter how long you wait.
To take a cutting, use clean, sharp scissors or secateurs and cut about half half an inch (1 cm) below a node. Aim for a piece with at least one node and one or two healthy leaves. Remove any lower leaves that would sit underwater or in soil, since submerged leaves rot and foul the water.
Take 2 to 3 cuttings rather than one. Lucy puts two or three in a pot as a matter of habit, simple insurance in case one goes soggy and fails. The rooted survivors can then be potted together into one container for a fuller, bushier plant straight away instead of a single thin stem.
Wipe the blade with isopropyl between cuts, and again between plants. A single dirty cut end is one of the most common causes of a cutting that rots instead of rooting, and it is the easiest step to skip. A proper kit makes this routine rather than a chore.
Water or soil
Both work, so choose by what you want. Put the node in a glass of water if you want to watch roots form, or straight into damp, well-draining potting mix if you would rather skip the later transplant shock. The full water-versus-soil comparison covers the trade-offs in detail.
What it does to the parent plant
Taking a cutting is also pruning. A clean cut just above a node usually makes the parent branch from the buds below the cut, so one leggy vine becomes two shorter, fuller ones. That means you can shape a straggly plant and gain cuttings in the same five minutes. The limit worth respecting: do not remove more than about a third of the plant at once, or you leave it short of the leaves it needs to recover.
When to take cuttings
Timing affects speed more than success. Spring and summer are best, because longer days and active growth mean faster rooting, often within two weeks. Cuttings taken in autumn and winter still root, but they can take a month or more, so be patient and avoid assuming a slow cutting has failed.
Temperature is the lever behind that. Rooting stalls below about 60°F (15°C) and runs fastest in the 70 to 80°F (21 to 26°C) range, so a warm spot out of cold drafts matters more than the calendar month.
Take cuttings from healthy plants only. A stressed, pest-ridden, or root-bound parent produces weak cuttings, and any spider mites or mealybugs will travel with the cutting.
Potting up rooted cuttings
Once water roots reach about 1 to 2 inches (3 to 5 cm) long, the cutting is ready for soil. Shorter roots transplant poorly, and much longer roots become brittle and tangled.
Pot into a small container with fresh, well-draining mix. Use a pot only slightly larger than the root mass, since an oversized pot holds excess moisture and invites root rot. Water it in, then keep the soil lightly moist for the first two weeks while the roots adjust to their new medium. Hold off on feeding for about a month; see How to Fertilize Houseplants for timing.
Your first cutting to try this week
If you are starting out, take a stem cutting from a pothos or tradescantia, since those root in water within two weeks and let you see the whole process before you risk a slower plant. The mistake that catches most people is giving up too early, so label each cutting with the date you took it and leave the quiet ones alone until autumn before judging them failed.
Where to go next
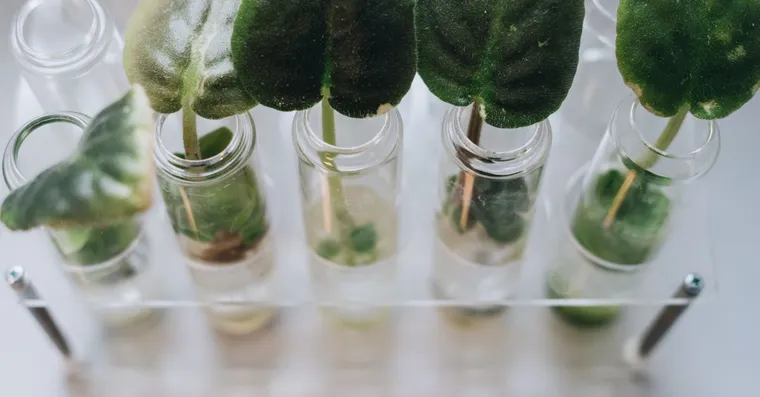
Best propagation stations for houseplants
A buying guide to propagation stations: which vessel suits water rooting, what actually helps roots form, and when a jam jar does the same job for free.
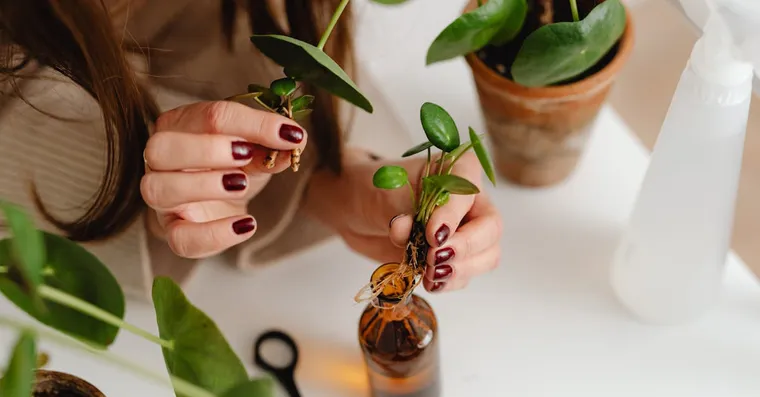
Do You Need Rooting Hormone to Propagate Houseplants?
What rooting hormone does, which cuttings actually benefit from it, and an honest take on whether most houseplant propagation needs it at all.
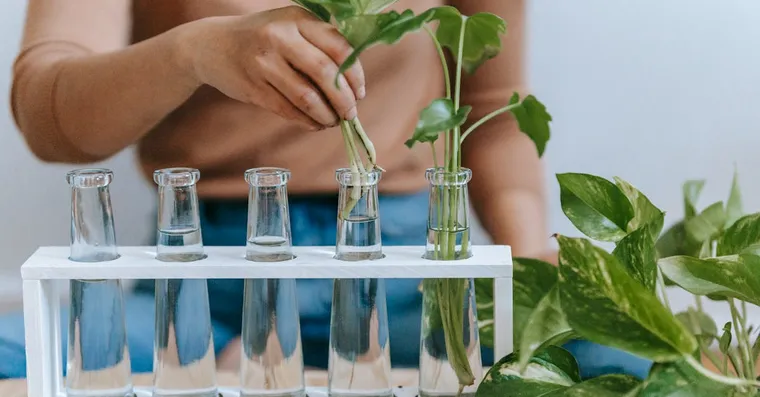
Propagating in Water vs Soil: Which Is Better for Cuttings?
The honest trade-offs between rooting houseplant cuttings in water and in soil, why water roots struggle in soil, and how to choose for each plant.
Not sure what plant you have? Identify it from a photo and we will point you at its care guide.