How to Propagate a Monstera From a Cutting
How to propagate a monstera deliciosa from a stem cutting, why the node and aerial root matter more than the leaf, and rooting it in water or straight in soil.
Some links in this guide go to Amazon. As an Amazon Associate we earn from qualifying purchases, at no extra cost to you. How this works.
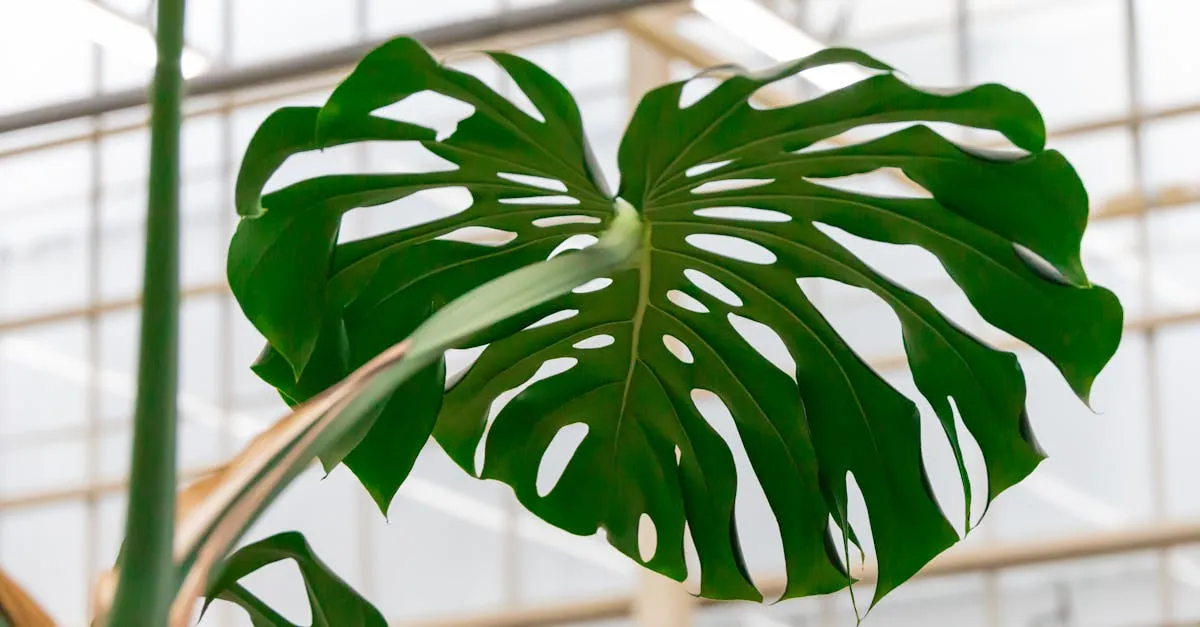
Sometimes the honest answer to how to propagate a monstera is simpler than the internet makes it look: you need a piece of stem with a node, and almost everything else is optional. Get the node right and roots will follow in water or soil. Get it wrong, and you can wait months for a single leaf that will never become a plant.
The node is the whole game
A node is the slightly raised band on the stem where a leaf joins, where you often see a small bump or a stubby brown nub. That nub is an aerial root, and the node also holds the dormant tissue that produces new roots and new growth. Without a node, a cutting has no way to make either.
This is the single most important thing to understand, because it explains the most common wasted effort in houseplant propagation.
A leaf with no node will never root into a plant. You can stand a beautiful monstera leaf and its stalk in a jar of water, and it may sit there green and hopeful for weeks. It will not grow roots that lead to a new plant, and it will not push out new leaves. Eventually it yellows and rots. The leaf and its stalk simply do not contain the tissue that makes a plant. If you have done this, you were not doing anything wrong with your care. The cutting was never going to work.
If your cutting has no node, no amount of patience, water changes, or rooting hormone will turn it into a plant.
How to take a cutting that will actually root
Work from a healthy stem and cut just below a node so the node sits at the bottom of your cutting.
- Find a node with an aerial root if you can. A node that already has a stubby aerial root gives you a head start, because that root tip extends into a water or soil root quickly. A node on its own still works; it just takes a little longer.
- Cut about 3/8 to 3/4 inch (1 to 2 cm) below the node using clean, sharp scissors or secateurs. A clean cut reduces the chance of rot at the wound.
- Aim for one node and one leaf. That balance gives the cutting a leaf to photosynthesize and a node to root. More nodes per cutting is fine; zero nodes is useless.
- Let the cut end dry for an hour if you want, which lets the wound callus slightly. This step is optional and matters more for soil than water.
A piece of stem with a node but no leaf can still root and will eventually push a new leaf. A leaf with no node cannot. When in doubt, keep the node and worry less about the leaf.
Rooting in water
Water is the popular method because you can watch progress, and for monstera it works well.
Set it up. Put the cutting in a clear glass or propagation station with the node submerged and the leaf above the water line. Use room-temperature water.
Keep it bright and warm. Bright indirect light and normal room warmth speed things up. Direct sun cooks the water and the cutting.
Change the water every few days. Fresh water carries oxygen and stops the cutting going slimy. Top up if the node becomes exposed.
Wait for real roots. You want several white roots an inch or two (3 to 5 cm) long before potting, usually two to six weeks. When you pot up, move into a light, well-draining mix and keep it slightly moist for the first couple of weeks while the water roots adjust to soil.
Rooting in soil
Soil skips the transplant shock of moving water roots into a pot, at the cost of not being able to see what is happening.
Use a light, airy mix. A peat-free houseplant mix loosened with perlite or orchid bark drains fast and resists rot. See how to choose the right potting mix if you are starting from scratch.
Bury the node, not the leaf. Push the node just under the surface and firm the mix around it. Keep the leaf above soil.
Keep it lightly moist and warm. Damp, not soggy. A loose clear bag over the pot raises humidity, but vent it so mold does not set in.
Neither method is clearly better. Water is easier to monitor; soil avoids the adjustment step. If you want the full comparison, see propagating in water vs soil.
A note on toxicity
Monstera is toxic to cats and dogs. The leaves and stems contain insoluble calcium oxalate crystals that cause mouth irritation, drooling, and vomiting if chewed. Keep cuttings, jars, and rooting pots out of reach of pets, and wash your hands after handling cut stems, as the sap can irritate skin. For wider context, see pet-safe houseplants.
Once your cutting has rooted and is growing, treat it like any mature plant: see Monstera deliciosa care, or Monstera adansonii care for the Swiss cheese vine.
What to expect once those first roots show
The slowest part is patience, not technique, so resist potting up the moment you spot a single thread of root; wait until you have several white roots an inch or two (3 to 5 cm) long, or the cutting will struggle to support itself in soil. New top growth usually lags behind the roots by a few weeks, so a rooted cutting that has not pushed a leaf yet is normal, not failing. Spring and summer give you the fastest, most reliable results, so if you are starting in the depths of winter, expect to wait longer and keep the cutting somewhere warm.
Where to go next
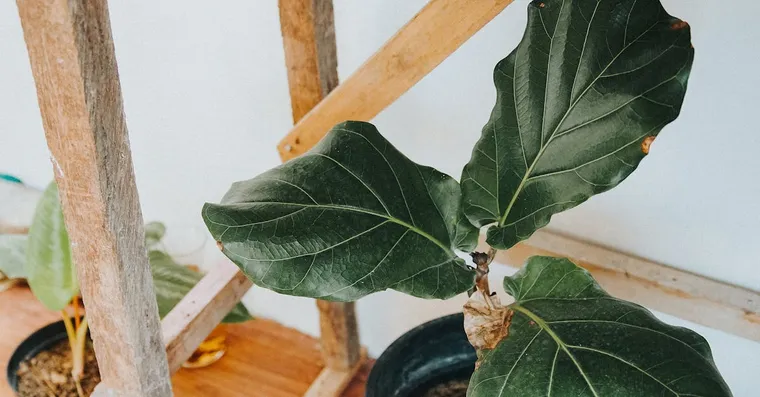
How to Propagate a Fiddle Leaf Fig From a Cutting
How to propagate a fiddle leaf fig from a stem cutting, why a single leaf will not work, and the slow rooting that makes air layering the safer option.
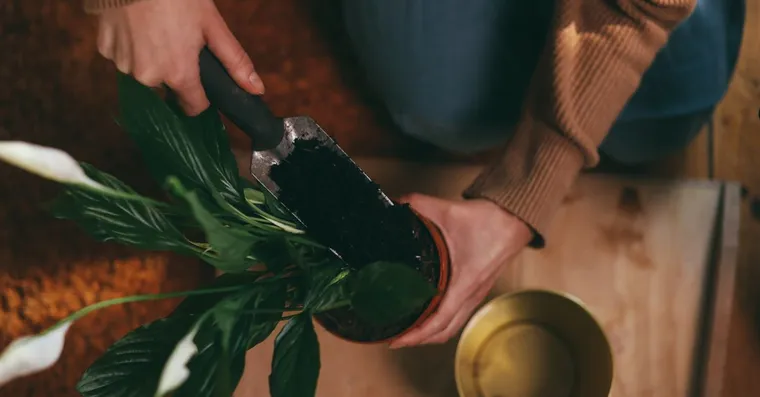
The Best Soil Mix for a Monstera (and a Simple Recipe)
Monstera roots want a chunky, fast draining aroid mix rather than plain potting soil; here is a simple recipe and what each ingredient does.
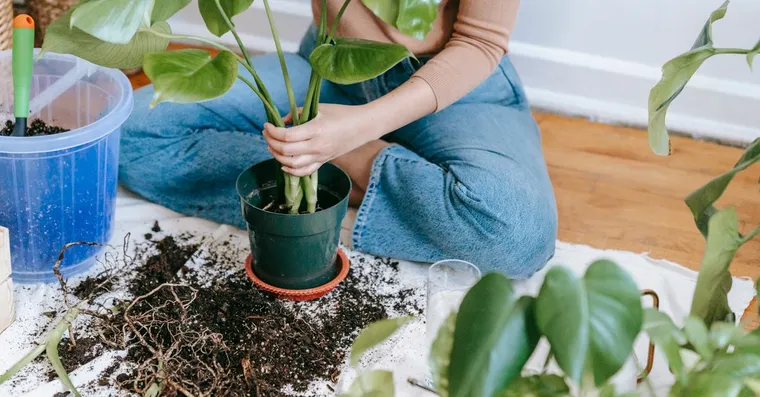
Monstera Aerial Roots: What They Do and What to Do With Them
Those thick roots growing from your monstera stem are normal aerial roots for climbing; here is whether to cut, bury, or train them.
Not sure what plant you have? Identify it from a photo and we will point you at its care guide.