Spider Plant Care and How to Propagate the Babies
Spider plants are hard to kill and easy to multiply. Here is how to care for one and turn its plantlets into new plants.
Some links in this guide go to Amazon. As an Amazon Associate we earn from qualifying purchases, at no extra cost to you. How this works.
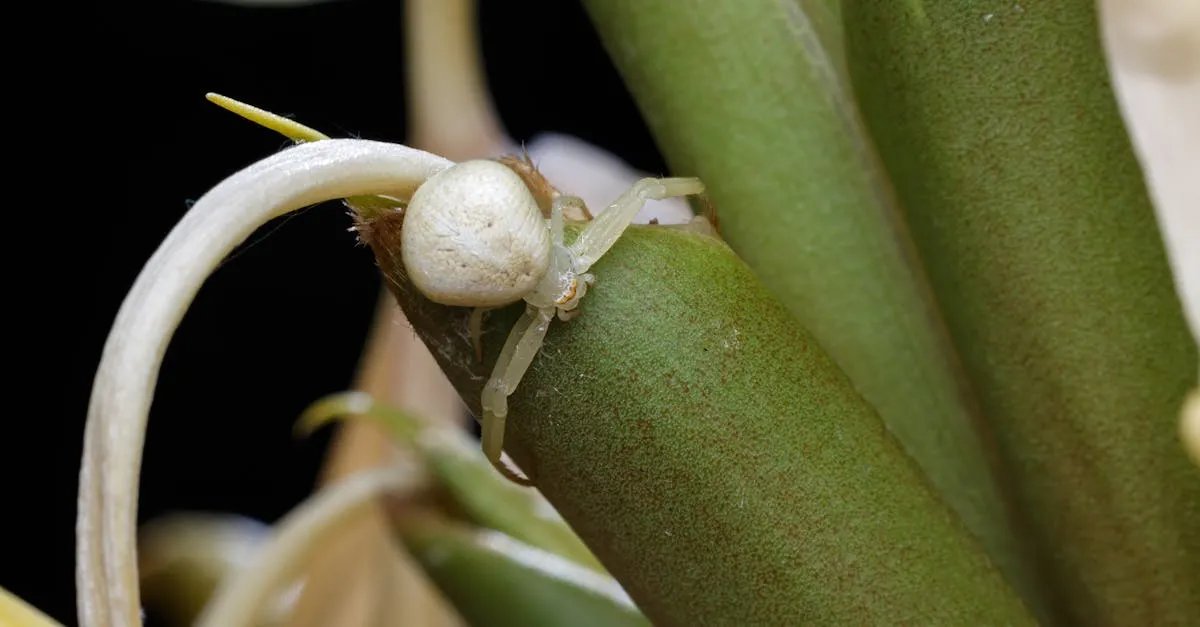
The spider plant tells you what it needs in plain signals: arching striped leaves, a flush of dangling plantlets, and the occasional brown tip. Most problems trace back to watering or tap water chemistry. Get those right and a single plant will supply you with a dozen more for free.
Light: bright and indirect
Bright, indirect light is where the spider plant looks its best, with full arching growth and crisp variegation. An east or west window, or a spot 3 feet (1 m) or so back from a south-facing one, suits it well.
Moderate to lower light is tolerated. Growth slows and the stripes fade a little, but the plant carries on. A fully green, non-variegated form handles dim conditions better than the variegated kinds.
Direct midday sun through glass scorches the leaves, leaving pale bleached patches. If you are unsure how to judge your spot, see how much light your houseplant actually needs.
Cultivars worth knowing
The three varieties you will most commonly find share identical care requirements and the same fluoride sensitivity but differ in appearance and runner behavior.
‘Vittatum’ has a green center stripe with white margins and is the classic arching form. ‘Variegatum’ reverses those colors, with a white center and green margins, and holds its variegation more reliably in lower light, though it still benefits from good brightness for its best growth. ‘Bonnie’ has curly, twisted leaves, produces fewer and shorter runners than the flat-leaved forms, and carries the same fluoride sensitivity as the other two.
Knowing your cultivar matters mainly for setting light expectations. ‘Variegatum’ placed in deep shade will lose its crisp margins within a season. A fully green, non-variegated spider plant is the most tolerant of dim conditions if light is genuinely limited.
How to water it
Spider plants like their soil kept lightly moist during spring and summer, drying out only in the top inch or two (3 to 5 cm) between waterings. Water thoroughly until it drains from the bottom, then empty the saucer. For technique, see how to water houseplants.
In winter, let the soil dry out more between waterings, as growth slows and the thick tuberous roots store moisture. Those roots make the plant fairly drought-tolerant: a missed week does little harm, but standing water causes root rot. If the plant ever looks limp and the soil is soggy, read how to save an overwatered plant.
Why the leaf tips turn brown
Brown tips are the spider plant’s most common complaint. The causes rank roughly like this.
Fluoride and salts in tap water. Spider plants are unusually sensitive to fluoride and the mineral salts in hard tap water. These build up in the leaf tips and burn them. Standing water overnight removes free chlorine, but it does not remove chloramine, which most UK water companies and many US suppliers use instead of chlorine. Chloramine does not evaporate. If you stand water and the tips still brown, the fix is distilled water or collected rainwater, not longer standing time. Lucy Liu, at her London nursery, notes that existing brown tips will not reverse once you switch: the damaged tissue is gone for good. New growth comes through clean within 4 to 6 weeks, and by the end of one season a canopy of fresh solid green or variegated leaves from the center covers the old damage entirely. See tap water for houseplants for the full chemistry.
To clear accumulated salts from the soil, run roughly three times the pot volume of water slowly through the compost every two to three months. Let it drain fully each pass and empty the saucer after.
Fertilizer build-up. Too much feed leaves salts in the soil that scorch tips just as tap water does. Feed sparingly, as described below.
Dry air. Very dry indoor air also browns the tips, independent of watering quality. The wider picture is in brown leaf tips: why they happen and how to stop them.
The trim does not heal. Cut the dead tip off following the leaf’s natural point.
Humidity
Spider plants prefer 40 to 60 percent relative humidity. Central heating in winter regularly pulls indoor air down to 20 to 30 percent, which is enough to drive brown tips even when watering and water quality are both correct.
Misting raises humidity for minutes only. A pebble tray filled with water, with the pot resting above the waterline, or grouping several plants together raises humidity around the foliage more reliably. For a full comparison of methods, see the houseplant humidity guide.
Soil, feeding, and pots
Soil. A standard houseplant compost with a handful of perlite added drains well enough.
Feeding. A balanced liquid fertilizer at half strength, once a month in spring and summer, is plenty. Skip winter entirely. Overfeeding is a direct cause of brown tips, so err low. See which fertilizer works and how to dilute it before starting a routine.
Pots. Spider plants grow fast and fill a pot quickly with thick white roots. When roots push the plant upward or emerge from the soil, move up one pot size in spring, following how to repot a houseplant. Note that mild root restriction is also what triggers plantlet production, so do not rush to repot a plant you are hoping will send out runners.
Why it is not producing babies
Pot size is the primary trigger. A plant with plenty of root room tends to grow leaves rather than runners. Once roots begin circling the inside of the pot or pushing out of the drainage holes, the plant shifts energy toward reproduction. Most specimens take 12 to 18 months from a small rooted pup before reaching this stage, so patience is often the correct answer.
Long summer days encourage flowering and runner production; dim winter light suppresses them. If the plant is clearly pot-bound but still not producing by midsummer, move it to a brighter position first before trying anything else.
To troubleshoot in order: confirm roots are circling or lifting the plant (if not, wait before repotting); check age (under 12 months is early for most plants); then assess light. A slight reduction in watering during late spring can add mild stress that nudges the plant toward runners. Avoid heavy fertilizing when you want plantlets: excess nitrogen pushes leaf growth at the expense of runners.
The plantlets, and how to propagate them
A mature, slightly pot-bound spider plant sends out long stems carrying small white flowers, then miniature plants called plantlets or pups. Each pup is a ready-made new plant.
To propagate, work through these steps in order.
- Choose a pup that already has small nubs or stubby roots at its base. Larger pups root faster.
- Root it in water or compost. For water, set the pup in a glass so the base touches the water while it is still attached to the parent; roots lengthen within one to two weeks. For compost, press the pup base into moist potting mix.
- Cut it free once roots reach 3/4 to 1 inch (2 to 3 cm). Snip the runner close to the pup.
- Pot it up in a small pot of moist compost and keep it in bright, indirect light. Keep the soil lightly moist for the first few weeks while it settles.
You can also pin a still-attached pup onto a nearby pot of compost and let the parent feed it until it roots on its own. For the full step-by-step method, see how to propagate a spider plant.
Spider plants are non-toxic, making them a genuine option among pet-safe houseplants.
What a year with a spider plant looks like
Switch to rainwater or distilled before you change anything else, because tap water chemistry causes more brown tips than watering habits ever will. Resist repotting once the roots start filling the pot, since that mild crowding is exactly what nudges the plant into sending out its first runners. By the end of one growing season you should have clean new growth covering the old damage and a handful of rooted pups ready to pot up or pass on.
Where to go next
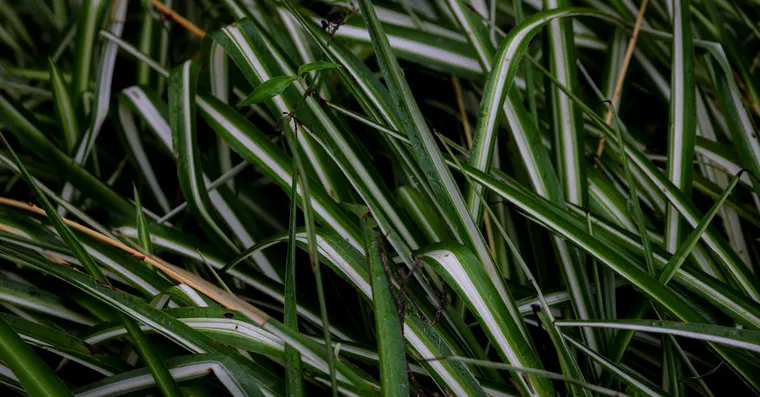
How to Propagate a Spider Plant From Its Babies
How to propagate a spider plant from the plantlets, or spiderettes, it sends out, rooting them in water or soil while still attached or after cutting.
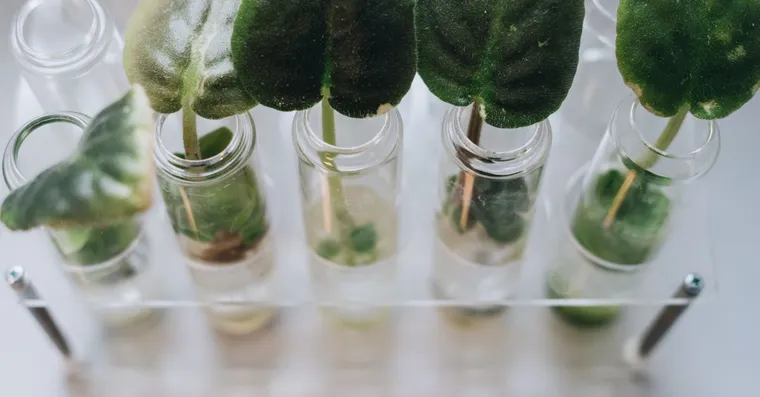
Best propagation stations for houseplants
A buying guide to propagation stations: which vessel suits water rooting, what actually helps roots form, and when a jam jar does the same job for free.
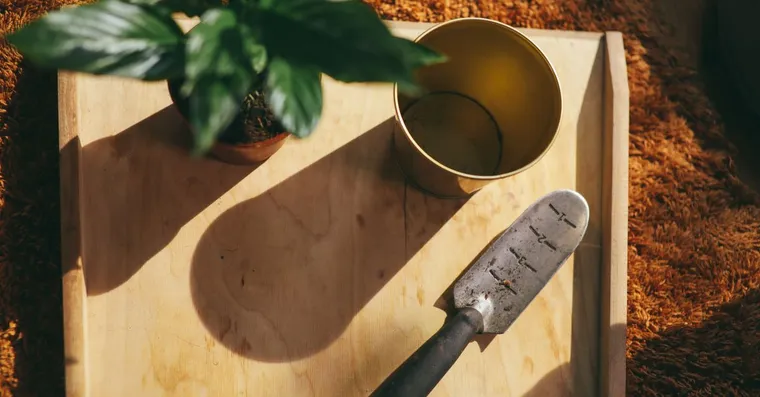
Houseplant tools every beginner needs
A no nonsense starter kit for new plant owners: the few tools genuinely worth buying first, the ones you can skip, and roughly what to spend.
Not sure what plant you have? Identify it from a photo and we will point you at its care guide.
Frequently asked questions
Why is my spider plant not producing babies?
Pot-bound roots are the main trigger. A plant with room to expand tends to grow leaves rather than runners. Once roots circle the inside of the pot or emerge from the drainage holes, the plant shifts energy toward reproduction. Most specimens take 12 to 18 months from a small rooted pup to reach this stage. Long summer days also encourage runners while dim winter light suppresses them. If the plant is mature and pot-bound but still not producing, try moving it somewhere brighter and reducing watering slightly in late spring. Avoid heavy fertilizing when you want plantlets, as excess nitrogen pushes leaf growth instead.
Is tap water safe for spider plants?
Tap water is a common cause of brown leaf tips in spider plants. They are sensitive to fluoride and to mineral salts in hard water, which accumulate in the leaf tips. Standing water overnight removes free chlorine, but not chloramine, which most UK water companies and many US suppliers use instead. Chloramine does not evaporate. If you stand water and still get brown tips, switch to distilled water or collected rainwater. Flushing the pot every two to three months by running roughly three times the pot volume of water slowly through the soil helps clear built-up salts.
Are spider plants safe for cats and dogs?
Spider plants are generally considered non-toxic to cats and dogs, which makes them a popular choice for pet owners. For a wider list of plants that are safe around animals, see the pet-safe houseplants guide on this site.
Sources
- ASPCA, Toxic and Non-Toxic Plants: Spider Plant (Chlorophytum comosum).
- Royal Horticultural Society (RHS), Houseplant growing guides: Chlorophytum comosum.