Air Plant Care: Watering a Plant That Grows Without Soil
A care guide for air plants (tillandsia), explaining how to water a soil-free plant by soaking, the light it needs, and why most air plants die of thirst.
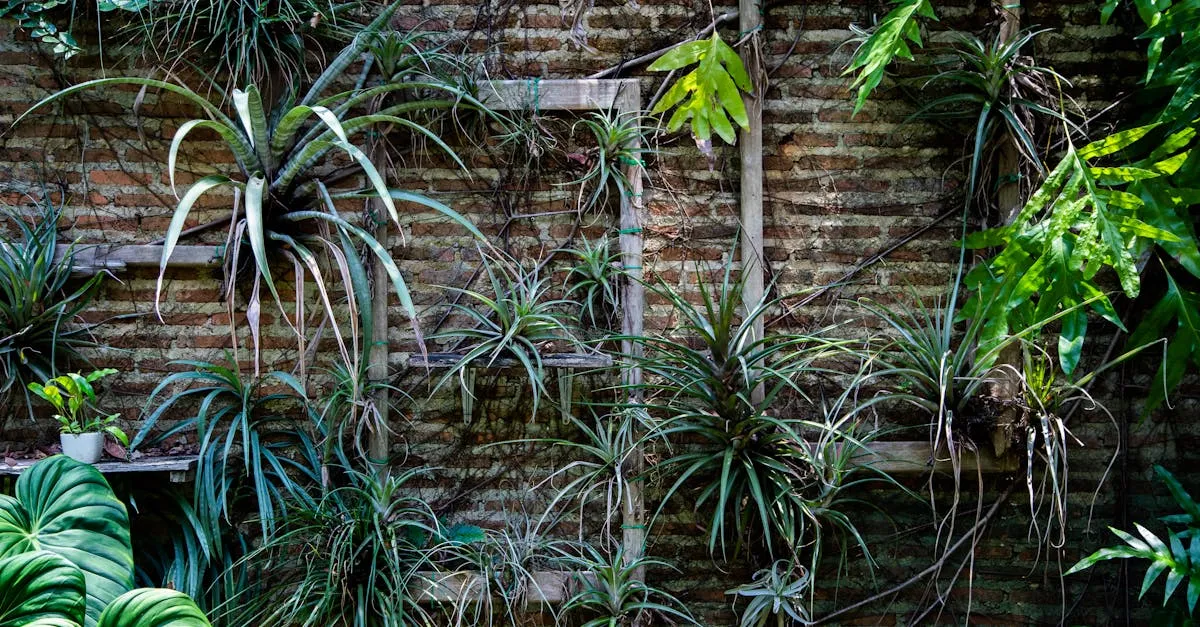
Air plants, the genus Tillandsia, look like they survive on nothing, and that misunderstanding is exactly what kills most of them. Good air plant care comes down to one thing the name hides: they still need water, often more than people think, just delivered through their leaves rather than roots. Get the watering and drying rhythm right and they are some of the lowest-maintenance plants you can keep.
How air plants actually drink
Air plants have no functional root system for feeding. The roots they do grow are anchors, used only to grip bark, rock, or a piece of driftwood in the wild. Everything the plant needs, water and nutrients alike, enters through tiny scales on the leaves called trichomes. Those silvery scales are why many air plants look frosted or fuzzy.
This changes how you water completely. You cannot pour water at the base and walk away, because there is no soil to hold moisture and no root to draw it up. You have to wet the leaves directly, and you have to do it long enough for the trichomes to take a real drink.
The soak and dry method
The reliable way to water is a full soak, not a misting. Misting wets the surface but rarely delivers enough.
- Soak weekly. Once a week, submerge the whole plant in a bowl of room-temperature water for 20 to 30 minutes. Rainwater or filtered water is best; if you use tap water, let it sit out overnight first, as air plants are sensitive to the same chlorine and minerals that bother other plants. See is tap water safe for houseplants for the detail.
- Shake off the excess. Lift the plant out and gently shake water from between the leaves. Water that pools in the central cup or the leaf bases is the main cause of rot.
- Dry upside down. Set the plant on its side or invert it on a towel in a bright, airy spot, and leave it until it is fully dry, usually two to four hours. Only return it to a closed terrarium or display once dry.
In a dry or heated home you may need to soak twice a week. In humid conditions, every ten days can be enough. The plant tells you: thirsty leaves curl inward and feel soft, while a hydrated plant is firm and its leaves open out.
Drying matters as much as soaking: a plant left wet in its center will rot from the inside before you notice.
Light, air, and feeding
Light. Air plants want bright indirect light, the kind a few feet back from a window that does not get harsh midday sun. Too little light is more common indoors and leaves them limp and slow. Direct, hot sun through glass scorches them, so filter it with a sheer curtain. They are good candidates near a bright window as long as the light is diffused.
Air movement. The clue is in the name. They need to dry quickly after watering, so give them an open spot with some air circulation rather than a sealed, stagnant container.
Feeding. Optional, but it helps blooming and pup production. Add a pinch of bromeliad or low-copper air-plant fertilizer to the soak water roughly once a month, since copper is toxic to air plants. Keep them away from it in the home too: copper wire, copper accessories, and copper-faceted terrariums are the usual culprits.
The myth that kills them
The single biggest myth is that air plants live on air alone. They do not, and underwatering is the most common way they die. A neglected air plant fades slowly: leaves curl harder, tips go brown and crispy, and the whole plant feels dry and weightless until it simply stops recovering after a soak.
The second killer is the opposite mistake made carelessly: water trapped in the center after soaking. Rot shows as a darkening base, leaves that pull away from the middle with a gentle tug, and a sour smell. Once the core rots there is no saving it. This is why the drying step is not optional. Both problems come down to rhythm, not effort: soak thoroughly, then dry thoroughly.
Brown leaf tips on an otherwise firm plant usually point to dry air or mineral build-up rather than disaster; the same logic that applies to brown tips on other houseplants holds here.
Settling into the soak-and-dry rhythm
Get into the habit of checking the leaves each week before you soak: firm, open leaves mean the plant is happy, while a soft inward curl is your cue to leave it submerged a little longer. Watch that rhythm shift with the seasons, because a heated room in winter dries a plant out faster and may push you to twice-weekly soaks, while a humid summer can stretch the gap to ten days. The air plant that lasts is the one you dry properly every time, so never set a wet tillandsia back in its display until the center and leaf bases are completely dry.
Where to go next
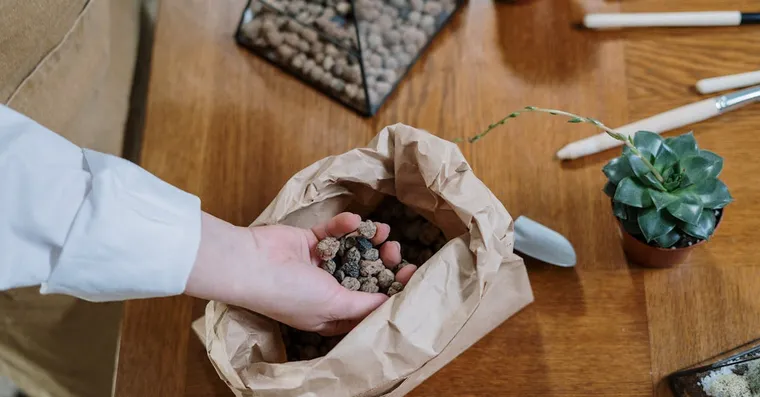
LECA and Semi-Hydroponics: Is It Worth Switching?
A plain guide to growing houseplants in LECA and semi-hydroponics, how the reservoir and nutrients work, and an honest take on whether it is worth it.
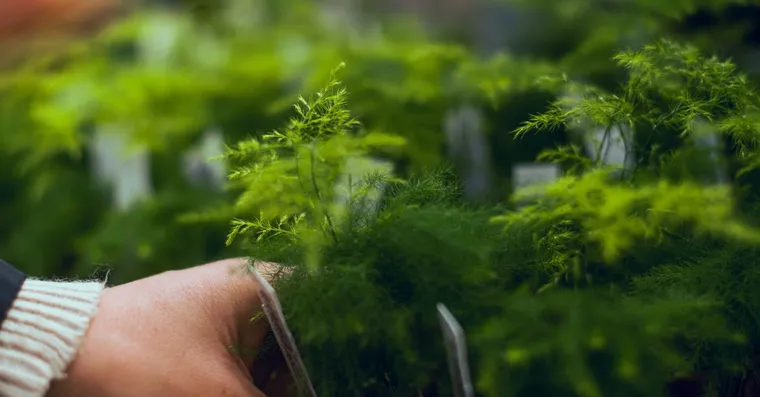
Asparagus Fern Care: Not a Fern, and It Has Thorns
Asparagus fern is not a fern, it is toxic to cats and dogs, and mature stems carry spines. Here is how to grow it and what to know first.
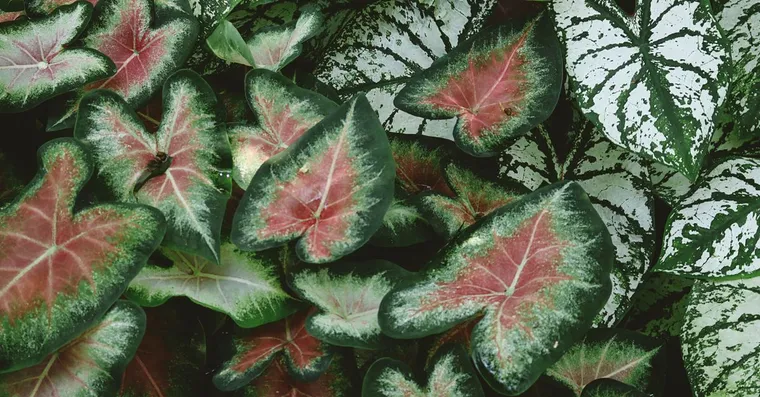
Caladium Care: Bright Leaves, Winter Dormancy, and Toxic Sap
Caladiums die back every winter and that is normal, not failure. Here is how to grow the tubers indoors and why they need care around pets.
Not sure what plant you have? Identify it from a photo and we will point you at its care guide.