Air Layering Houseplants: Propagating Big Plants Without the Risk
How to air layer a houseplant to root a stem before you cut it, the method step by step, and why it suits leggy monsteras, rubber plants, and fiddle leaf figs.
Some links in this guide go to Amazon. As an Amazon Associate we earn from qualifying purchases, at no extra cost to you. How this works.
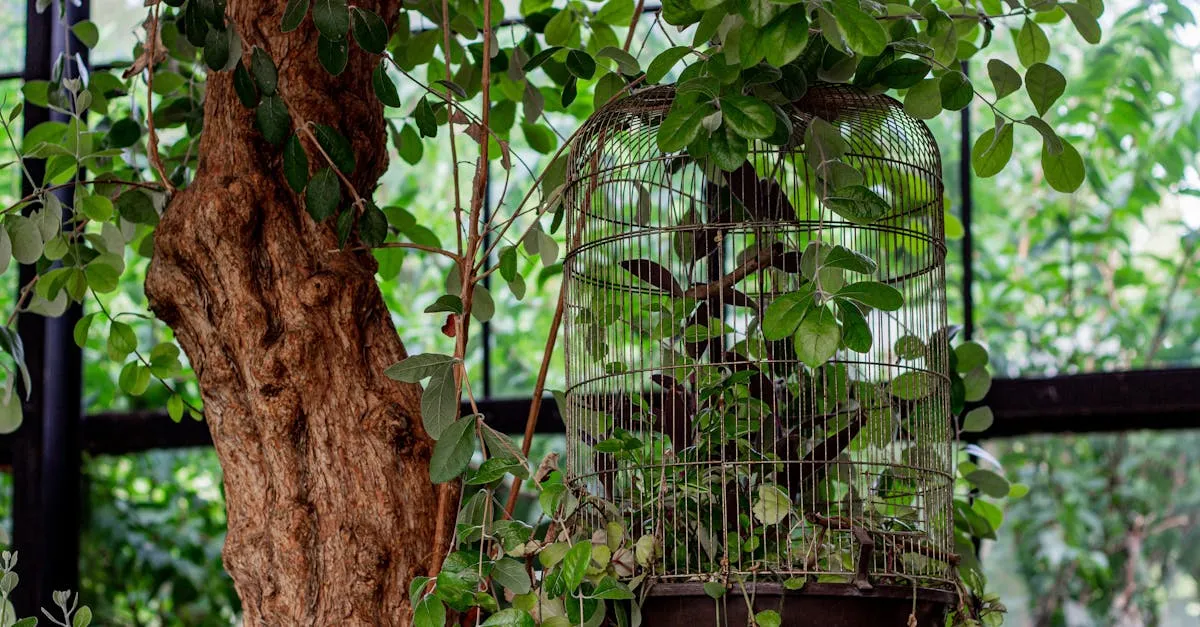
Air layering sounds advanced, but it is one of the lowest risk ways to make a new plant. Instead of cutting a stem off and hoping it roots in water or soil, air layering houseplants means rooting the stem while it stays attached to the parent. You only make the cut once roots have already formed, so the new plant arrives with a working root system and almost never fails. That safety net is why it is the method of choice for tall, woody plants you cannot afford to lose.
Why air layering beats a straight cutting
A normal cutting is a gamble. You sever the stem, the cutting has no roots, and it has to survive on stored energy long enough to grow new ones before it rots or dries out. For soft, eager plants like pothos that gamble usually pays off. For thick, woody stems it often does not.
Reliability. The stem keeps drawing water and sugars from the parent the whole time it is rooting, so it is never under the stress a detached cutting faces. Failure is rare.
Bigger plants. You can root a section that is far too large and woody to survive as a cutting, which is how you get an instant tall plant rather than a tiny start.
Saving a leggy plant. If your monstera, rubber plant, or fiddle leaf fig has grown bare and lanky, air layering lets you behead the top half with roots already attached, then the stump usually pushes new growth below the cut. You end up with two plants instead of one risky cutting.
The honest trade off is speed. Air layering takes longer to show roots than a cutting in water, often six to ten weeks. You are buying reliability with patience.
Wounding the stem
Choose a healthy stem section, ideally just below a node or an aerial root, about pencil thickness or more. Wipe a clean, sharp knife with alcohol first.
Ring method (best for woody stems). Cut two shallow rings around the stem about half an inch (1 cm) apart, then peel away the bark and green layer between them. This interrupts the flow of sugars down the stem, which is what triggers rooting at that point.
Notch method (for fleshier stems like monstera). Make one upward diagonal cut about a third of the way through the stem and wedge it open with a matchstick or a small piece of moss so it cannot heal shut.
A dusting of rooting hormone on the wound can speed things along, though it is optional. See whether you actually need rooting hormone before buying any.
Wrapping with damp moss and plastic
Soak a handful of sphagnum moss in water, then squeeze it out until it is damp but not dripping. Soggy moss invites rot.
- Pack the wet moss around the wounded section so it forms a ball that fully covers the cut.
- Wrap the moss in a sheet of clear plastic, such as cling film or a cut freezer bag. Clear plastic lets you see roots without unwrapping.
- Tie both ends snugly with twine, twist ties, or tape so no air gaps let the moss dry out, but leave the top slightly loose so you can re-moisten it.
The single most common failure is moss that dries out, so check it every week and add a little water if it feels light.
Keep the parent plant in its normal spot. Bright indirect light and ordinary room warmth are all the roots need.
Potting once rooted
Wait until you can see a good network of white roots filling the moss through the plastic. A few thin roots are not enough; give it until the ball looks crowded.
Cut the stem cleanly just below the rooted moss. Do not pick the moss off the roots, as they are fragile and tangled through it. Pot the whole thing, moss and all, into a small pot of a well draining mix. Water it in and keep it somewhere stable and humid for the first few weeks while the roots adjust to soil. Hold off on feeding until you see fresh top growth.
Pick the season, then let patience do the work
Start an air layer in spring or early summer, when active growth roots the wound fastest; a layer begun in autumn can sit for months with little to show. The mistake that undoes most attempts is impatience at the end, so resist cutting until white roots genuinely crowd the moss rather than just threading through it. Get those two things right and air layering is closer to a sure thing than any cutting you will ever take.
Where to go next
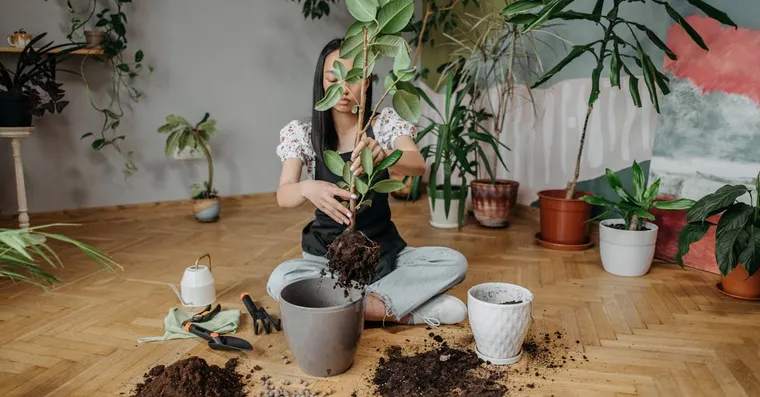
How to Propagate a Rubber Plant from Cuttings
How to propagate a rubber plant from stem cuttings or air layering, including rooting times and how to handle the sticky latex sap.
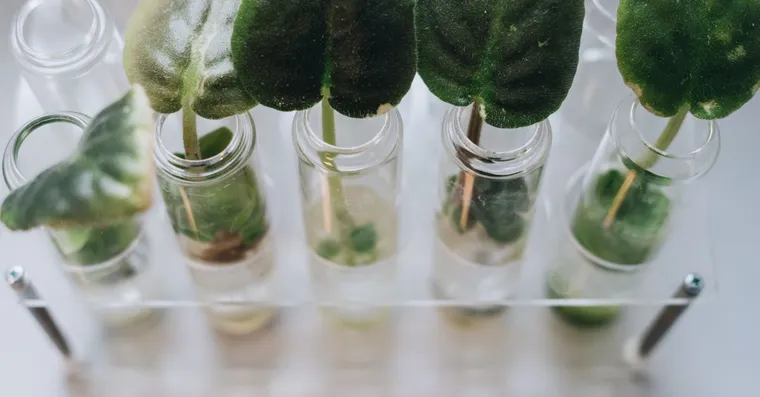
Best propagation stations for houseplants
A buying guide to propagation stations: which vessel suits water rooting, what actually helps roots form, and when a jam jar does the same job for free.
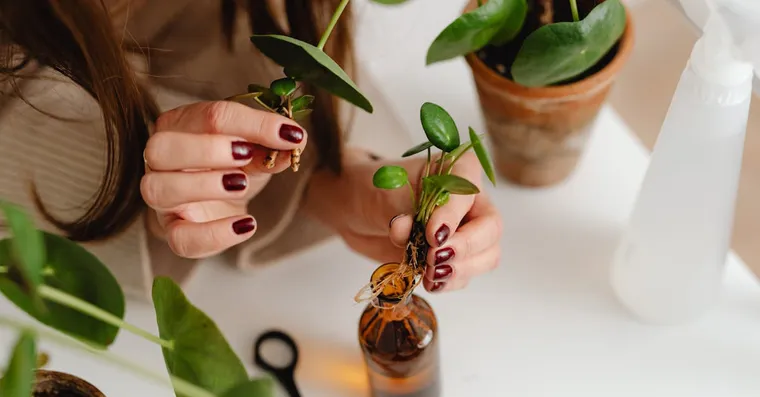
Do You Need Rooting Hormone to Propagate Houseplants?
What rooting hormone does, which cuttings actually benefit from it, and an honest take on whether most houseplant propagation needs it at all.
Not sure what plant you have? Identify it from a photo and we will point you at its care guide.