Phalaenopsis Orchid Care: Watering, Light, and Reblooming
A beginner-friendly guide to moth orchid care, covering how to water it, where to place it, and how to encourage a second bloom.
Some links in this guide go to Amazon. As an Amazon Associate we earn from qualifying purchases, at no extra cost to you. How this works.
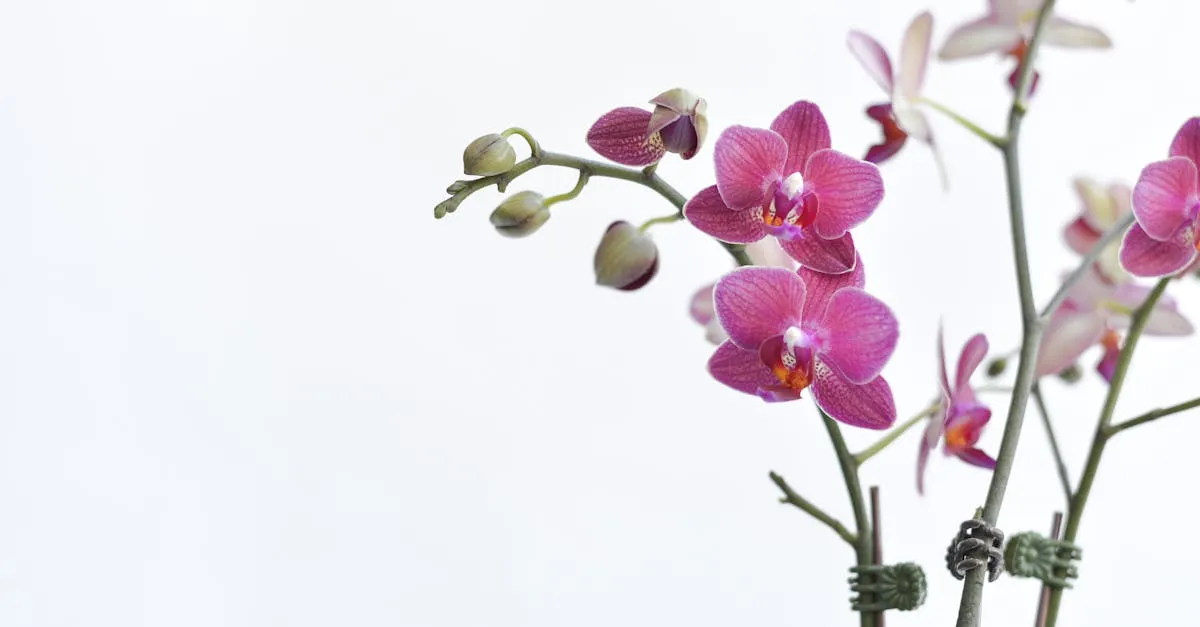
The moth orchid has a reputation it does not deserve. It is sold as a fussy, short-lived gift plant, but Phalaenopsis orchid care is genuinely straightforward once you understand that it is not a soil plant at all: in the wild it grows clinging to tree bark, with its roots in open air. Get the watering and light right, and the same plant will flower for you year after year.
How to water a moth orchid
Most orchids die from too much water, not too little. The roots need to breathe, and they rot quickly if they sit wet.
Water when the potting bark feels dry and the roots have turned silvery-white. Healthy, well-watered roots are bright green; pale, chalky roots mean the plant is thirsty. In a warm room this works out at roughly every 7 to 10 days. If you are unsure whether it needs water today, wait two more days: a short drought is far less damaging than wet roots.
When you water, water properly. Take the pot to the sink, run room-temperature water through the bark for thirty seconds or so, and let it drain completely. Never leave the pot standing in a saucer of water.
This is where the ice-cube myth comes in. Marketers suggest dropping three ice cubes on the bark once a week as a tidy, foolproof routine. The honest reality: it is a marketing convenience, not good care. Three cubes deliver too little water to soak the roots, and Phalaenopsis are tropical plants that resent cold against their roots. Plain tepid water, applied generously and drained fully, is what they actually want.
Light, temperature, and humidity
Light. A moth orchid wants bright, indirect light. An east-facing windowsill is close to ideal. The leaves tell you what you need to know: a healthy plant has firm, mid-green leaves. Dark green, floppy leaves mean too little light, which is the most common reason an orchid never reblooms. Yellowish or red-tinged leaves mean too much direct sun. If your only option is a dim corner, a grow light solves the problem reliably.
Temperature. Normal room temperature suits them: roughly 65 to 80°F (18 to 27°C). They dislike cold drafts and the dry blast of a radiator. If you want a long-blooming tropical plant with similar indirect-light needs but simpler watering, anthurium care is worth a read.
Humidity. They prefer moderate humidity, around 50 to 60 percent. Average homes are drier than that, especially in winter. Grouping plants together or using a humidity tray helps; in a very dry home, a small humidifier placed nearby makes a noticeable difference, and the houseplant humidity guide covers all the options.
What actually triggers a new flower spike
A moth orchid that grows healthy leaves but never flowers is almost always missing one thing: a temperature drop.
In the wild, the shorter, cooler nights of autumn signal the plant to bloom. You can recreate this indoors. For three to four weeks in autumn, give the plant night temperatures around 55 to 60°F (13 to 16°C), while keeping days normal. A spot near a window that cools at night, or a cooler room, usually does it. A new spike grows upward and has a distinctive rounded, mitten-shaped green tip; a flat, silver-gray growth pointing outward or downward is an aerial root, not a spike.
The other factors that support reblooming, in order of importance:
- Enough light. A plant in low light has no energy to spare for flowers. This is the first thing to fix.
- Steady feeding. Use a balanced fertilizer at quarter to half strength every two to three weeks while the plant is in active growth. The general principles in how to fertilize houseplants apply here too.
- A mature plant. A young orchid needs at least three or four healthy leaves before it can support a spike.
An orchid that will not rebloom is almost never sick. It is usually just too warm at night and too dim by day.
Aerial roots: leave them alone
If you notice thick, silvery roots snaking up the sides of the pot or hanging over the edge, leave them. Phalaenopsis roots grow towards humidity and light; aerial roots in open air are a sign of a healthy plant doing what it does in the wild, not something that needs tidying up.
Do not cut aerial roots. A cut root is an open wound that invites bacterial and fungal infection, and aerial roots do not regenerate once removed. If you want to guide a long, flexible root gently into the pot at the next repot, you can, but only if it bends without resistance.
Telling aerial roots from new spikes matters. An aerial root tip is flat and silver-gray, and it tends to grow outward or downward. A new flower spike tip is rounded, green, and mitten-shaped, and it will grow upward within a week or two. Cutting a spike by mistake is the most common preventable error in Phalaenopsis care.
| Root appearance | What it means | What to do |
|---|---|---|
| Silvery-white and plump | Healthy; between waterings | Nothing; this is normal |
| Bright green | Well-hydrated, just watered | Nothing; this is ideal |
| Silvery-white and wrinkled | Underwatered or air too dry | Water thoroughly and raise humidity to around 50 percent |
| Flat, papery white | Dead root | Trim cleanly with sterile scissors; no stump |
Repotting: timing and medium
Repot every 18 to 24 months, or sooner if the roots are circling the base and lifting the plant out of the pot. Other signs it is time: the bark has decomposed to a dark, soggy mass that no longer drains freely.
Use medium-grade orchid bark, not sphagnum moss. Moss holds water far longer than bark and keeps roots too wet in most homes. Fine “orchid compost” is also too dense; look specifically for coarse or medium bark chips sold as orchid bark. Clear nursery pots are useful because they let you monitor root color without disturbing the plant: bright green roots are hydrated, silvery-white roots are thirsty, and any brown or mushy roots need to come out.
For step-by-step guidance on handling tangled roots without snapping them, see how to repot a houseplant.
Symptom decoder
| What you see | What it usually means |
|---|---|
| Wrinkled or accordion-pleated leaves | Dehydration, or roots too damaged by rot to take up water |
| One yellow leaf at the base, once a year | Normal turnover; no action needed |
| Limp, dark-green leaves | Too little light; move closer to a window |
| Brown, mushy roots | Root rot; remove cleanly with sterile scissors |
| Flat white papery roots | Dead roots; remove to improve airflow |
If you are dealing with mushy roots, the guide to root rot treatment covers how to cut back damage and give the plant the best chance of recovery.
When the flowers drop
Phalaenopsis blooms last two to four months, then fall. This is normal, not failure. The plant has not died; it has simply finished flowering.
When the last flower drops, inspect the spike. Lucy Liu, at her London nursery, sees this moment lead to the most common unnecessary loss: owners assume the plant is finished and sever the whole spike at the base, not realizing a green spike is already building towards a second flush from its nodes. If it is still green, cut it one to two nodes above the base, roughly 4 to 6 inches (10 to 15 cm) from the soil. Cutting at the first node (lower down) produces a heavier secondary spike; cutting at the second gives a faster but lighter one. Either option produces flowers sooner than cutting all the way to the base. If the whole spike has turned brown and dry, remove it flush to the base and leave no stump: a stub left behind has no purpose and can rot.
Setting up next year’s flowers
The one habit worth putting in your calendar is the autumn cool-night spell: from roughly late September, give the plant three to four weeks of 55 to 60°F (13 to 16°C) nights and you set up the next round of blooms long before you see a spike. Between flushes, resist the urge to fuss with a healthy plant; keep watering only when the roots turn silvery, leave the aerial roots be, and check any green spike twice before you reach for the scissors. A moth orchid that stays firm-leaved and green-rooted is already doing well, even in the months when it is not in flower.
Where to go next
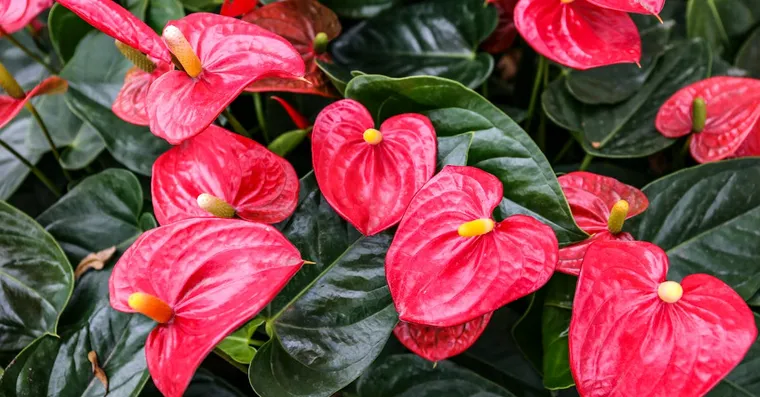
Anthurium Care: How to Keep It Flowering Indoors
A guide to anthurium care that explains light, watering, and feeding so the plant keeps producing its glossy red flowers indoors.

Asparagus Fern Care: Not a Fern, and It Has Thorns
Asparagus fern is not a fern, it is toxic to cats and dogs, and mature stems carry spines. Here is how to grow it and what to know first.
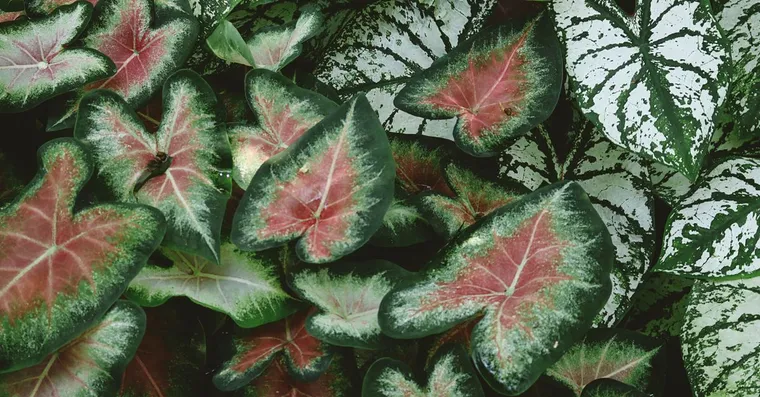
Caladium Care: Bright Leaves, Winter Dormancy, and Toxic Sap
Caladiums die back every winter and that is normal, not failure. Here is how to grow the tubers indoors and why they need care around pets.
Not sure what plant you have? Identify it from a photo and we will point you at its care guide.
Frequently asked questions
Why won't my orchid rebloom?
The most common cause is nights that are too warm. Give the plant 55 to 60°F (13 to 16°C) at night for three to four weeks in autumn, near a window that cools down overnight. Low light is the second culprit: a plant without enough energy cannot support a spike.
Should I cut the flower spike after the blooms fall?
If the spike is still green, cut it one to two nodes above the base, roughly 4 to 6 inches (10 to 15 cm) from the soil, to encourage a secondary spike. If the whole spike has turned brown, cut it flush to the base with no stump left behind.
What are the roots growing outside the pot?
These are aerial roots, and they are healthy. Phalaenopsis roots grow towards humidity and light in the wild; leave them alone and do not cut them, as cutting opens an infection site.
Why are my orchid's leaves wrinkled?
Wrinkled or accordion-pleated leaves usually mean dehydration or root rot. Check root color: bright green means well-watered, silvery-white means thirsty, and brown mushy roots need to be removed before they spread rot further.
Why are my orchid's aerial roots shriveling or going white?
Silvery-white aerial roots are normal when the plant is between waterings; they turn green after a good soak. If they look wrinkled or papery rather than just pale, the air is too dry or the plant needs water. Try raising humidity to around 50 percent and water more thoroughly at the next watering. Flat, papery roots that do not plump up after watering have died and can be trimmed away cleanly.